By: Team W14-4 Since: August 2018 Licence: MIT
1. Introduction
Let Inventory Manager do the hard work of managing the shop inventory while you focus on making money.
Inventory Manager aims to tackle the chore of stock taking for Small to Medium Enterprises (SMEs). Designed to be easy to use, Inventory Manager gives you control over your business right from your keyboard.
Inventory Manager comes with features to manage the shop inventory such as creating sale orders, purchase orders, generating reports and more. With user authentication put in place, it gives SMEs greater control over users' access to the application too.
Get control over your shop’s inventory now by heading over to Section 3, “Quick Start”. Enjoy!
2. About
This guide introduces you to Inventory Manager, provides set up instructions and gives you an overview of the features available.
This document does not assume any prior technical knowledge, and the glossary explains any technical terms. Please check the FAQ section for frequent user issues.
3. Quick Start
This section will help you get started with Inventory Manager in 4 easy steps:
-
Ensure you have Java version 9 or later installed in your Computer.
-
Download the latest
InventoryManager.jarhere. -
Copy the file to the folder you want to use as the home folder for Inventory Manager.
-
Double-click the file to start the application. Inventory Manager should show up on your screen in a couple of seconds.
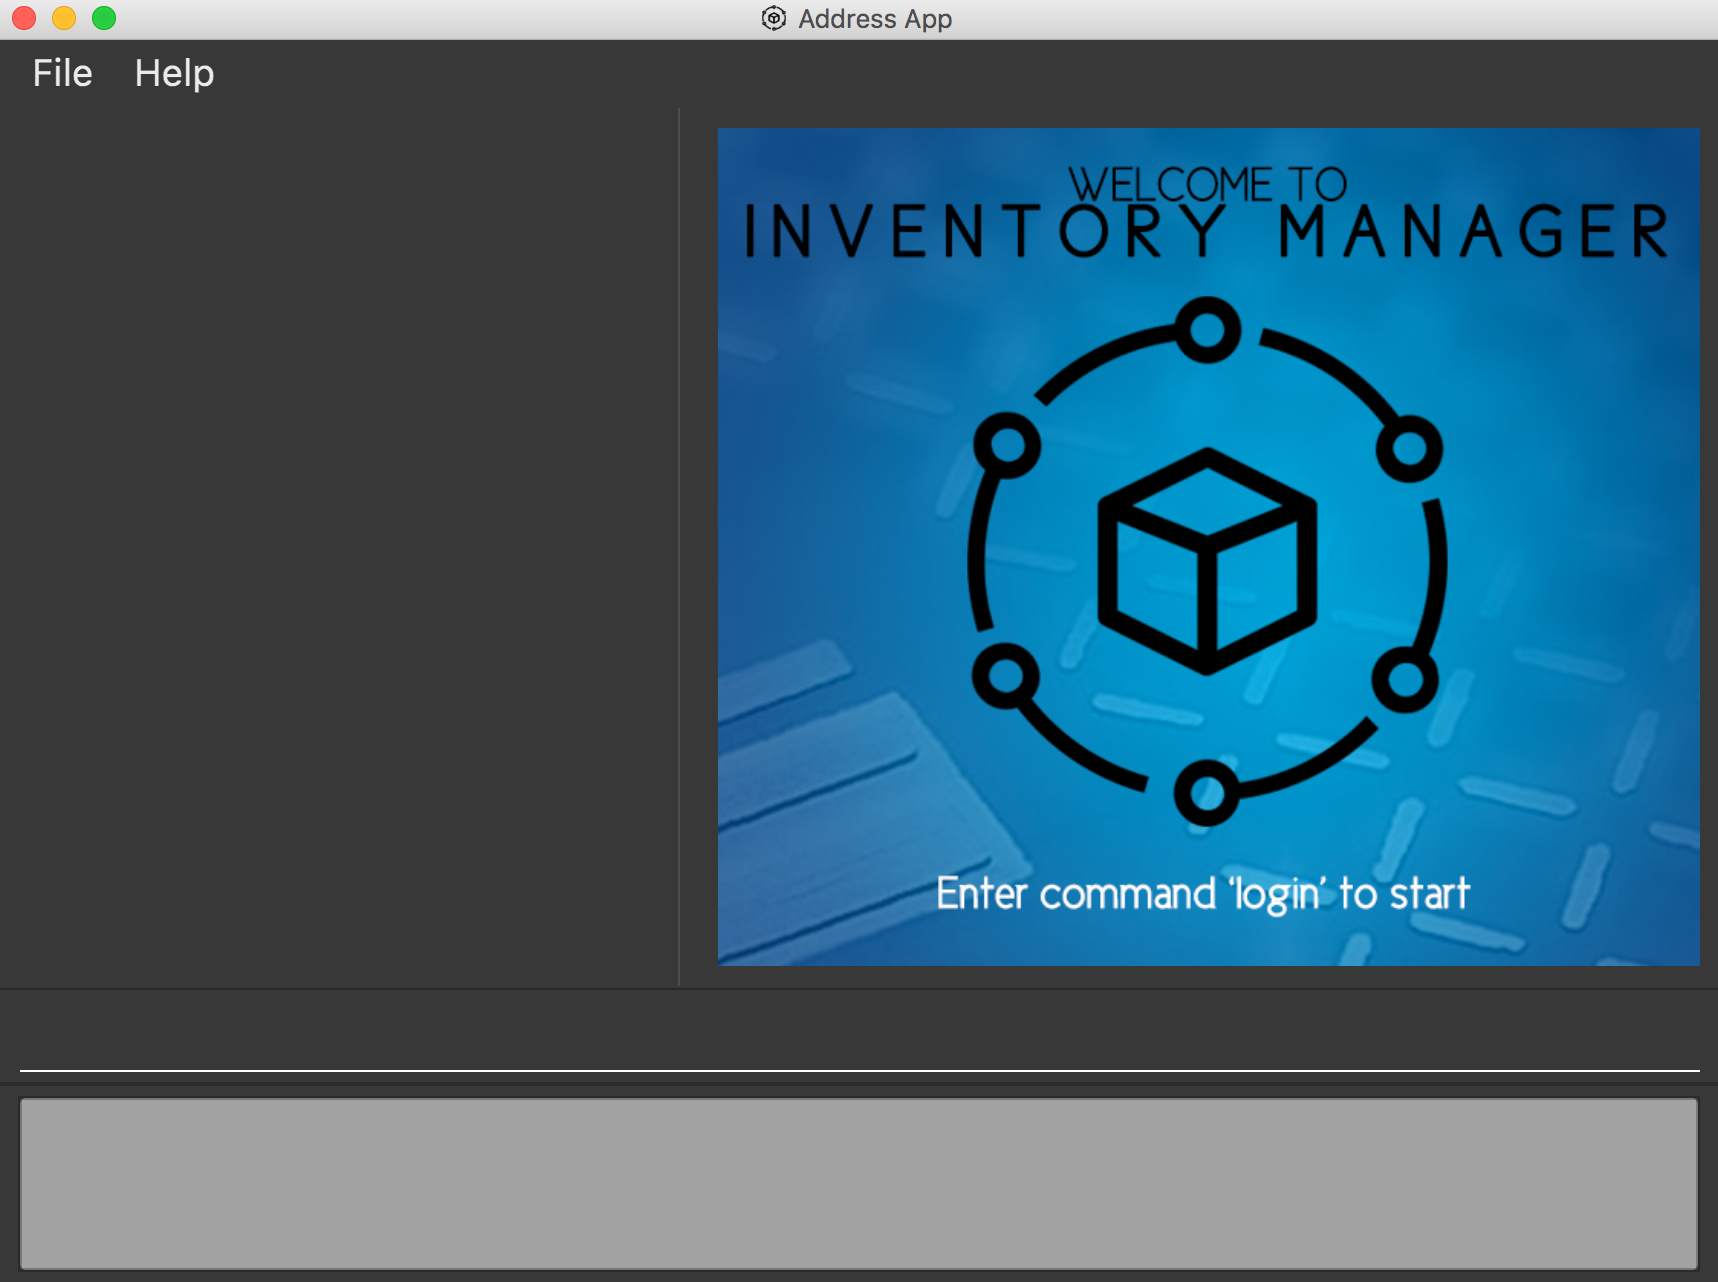 Figure 1. The Graphical User Interface on starting up.
Congratulations! You have successfully set up Inventory Manager.
You can now type a command in the command box and press Enter to execute it.
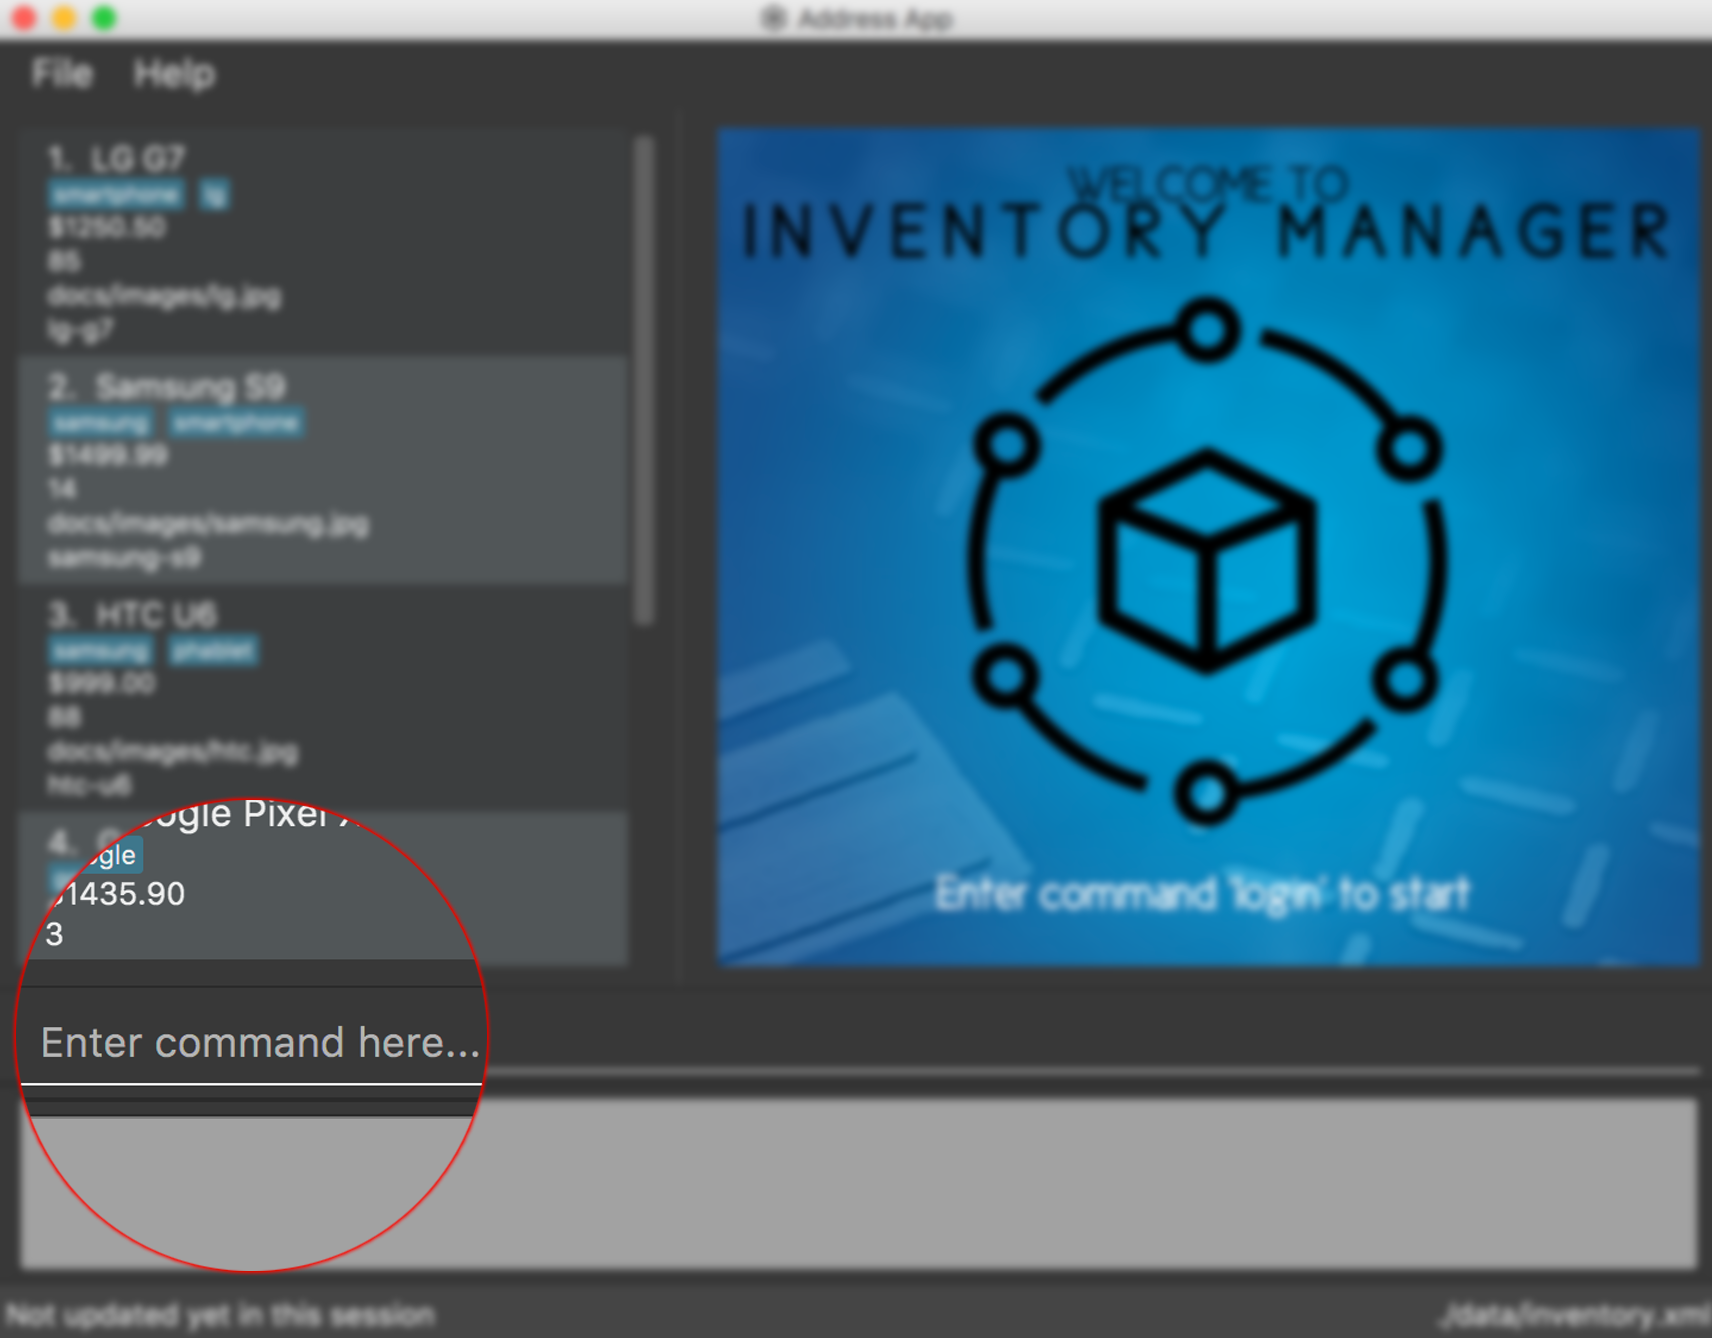
A good start is entering the command help and pressing Enter, it will open the help window.
As a first time user, you can enter the command login u/admin p/password to login to the Inventory Manager as a
super-admin.
This super-admin account is a default administrator account.
Below are some other commands you can try after logging into the system:
-
list-item: lists all items available -
exit: exits the application
You can refer to Section 4, “Features” for details of each available features in Inventory Manager.
4. Features
Each feature has it’s own unique command to be entered into the command box.
4.1. General
Below are the general commands available for Inventory Manager.
4.1.1. Viewing help : help
The help command brings up the help screen.
This command is available to any user.
Format: help
4.1.2. Listing entered commands : history
The history command lists all the commands that you have entered, including valid and invalid commands, in reverse chronological order.
This command is available to any user.
Format: history
|
Pressing the ↑ and ↓ arrows will display the previous and next input respectively in the command box. |
4.1.3. Undoing previous command : undo
The undo command restores Inventory Manager to the state before the previous undoable command was executed.
This command is available to members only.
Format: undo
|
Supported undoable commands: |
Examples:
-
Performing an undo on the delete command.
delete-item 1
list
undo -
Performing an undo on the select command, which will fail as there is no undoable commands executed previously.
select 1
list
undo -
Performing multiple undo commands.
delete-item 1
clear
undo(reverses theclearcommand)
undo(reverses thedelete-item 1command)
4.1.4. Redoing the previously undone command : redo
The redo command reverses the most recent undo command.
This command is available to members only.
Format: redo
Examples:
-
Performing a redo on an undo command.
delete-item 1
undo(reverses thedelete 1command)
redo(reapplies thedelete 1command) -
Performing a redo, which will fail as there was no undo command executed previously.
delete-item 1
redo -
Performing multiple redo commands.
delete-item 1
clear
undo(reverses theclearcommand)
undo(reverses thedelete 1command)
redo(reapplies thedelete 1command)
redo(reapplies theclearcommand)
4.1.5. Clearing all entries : clear
The clear command clears all entries from Inventory Manager.
This command is available to admin only.
Format: clear
4.1.6. Exiting the program : exit
The exit command exits Inventory Manager.
This command is available to any user.
Format: exit
4.1.7. Saving the data
Inventory Manager data are saved in the hard disk automatically after any command that changes the data. No action is required to manually save the data.
4.2. Authentication
Users authenticate their identities prior using any other functions of the applications.
The following commands are only available to any members except login which can be executed by any user.
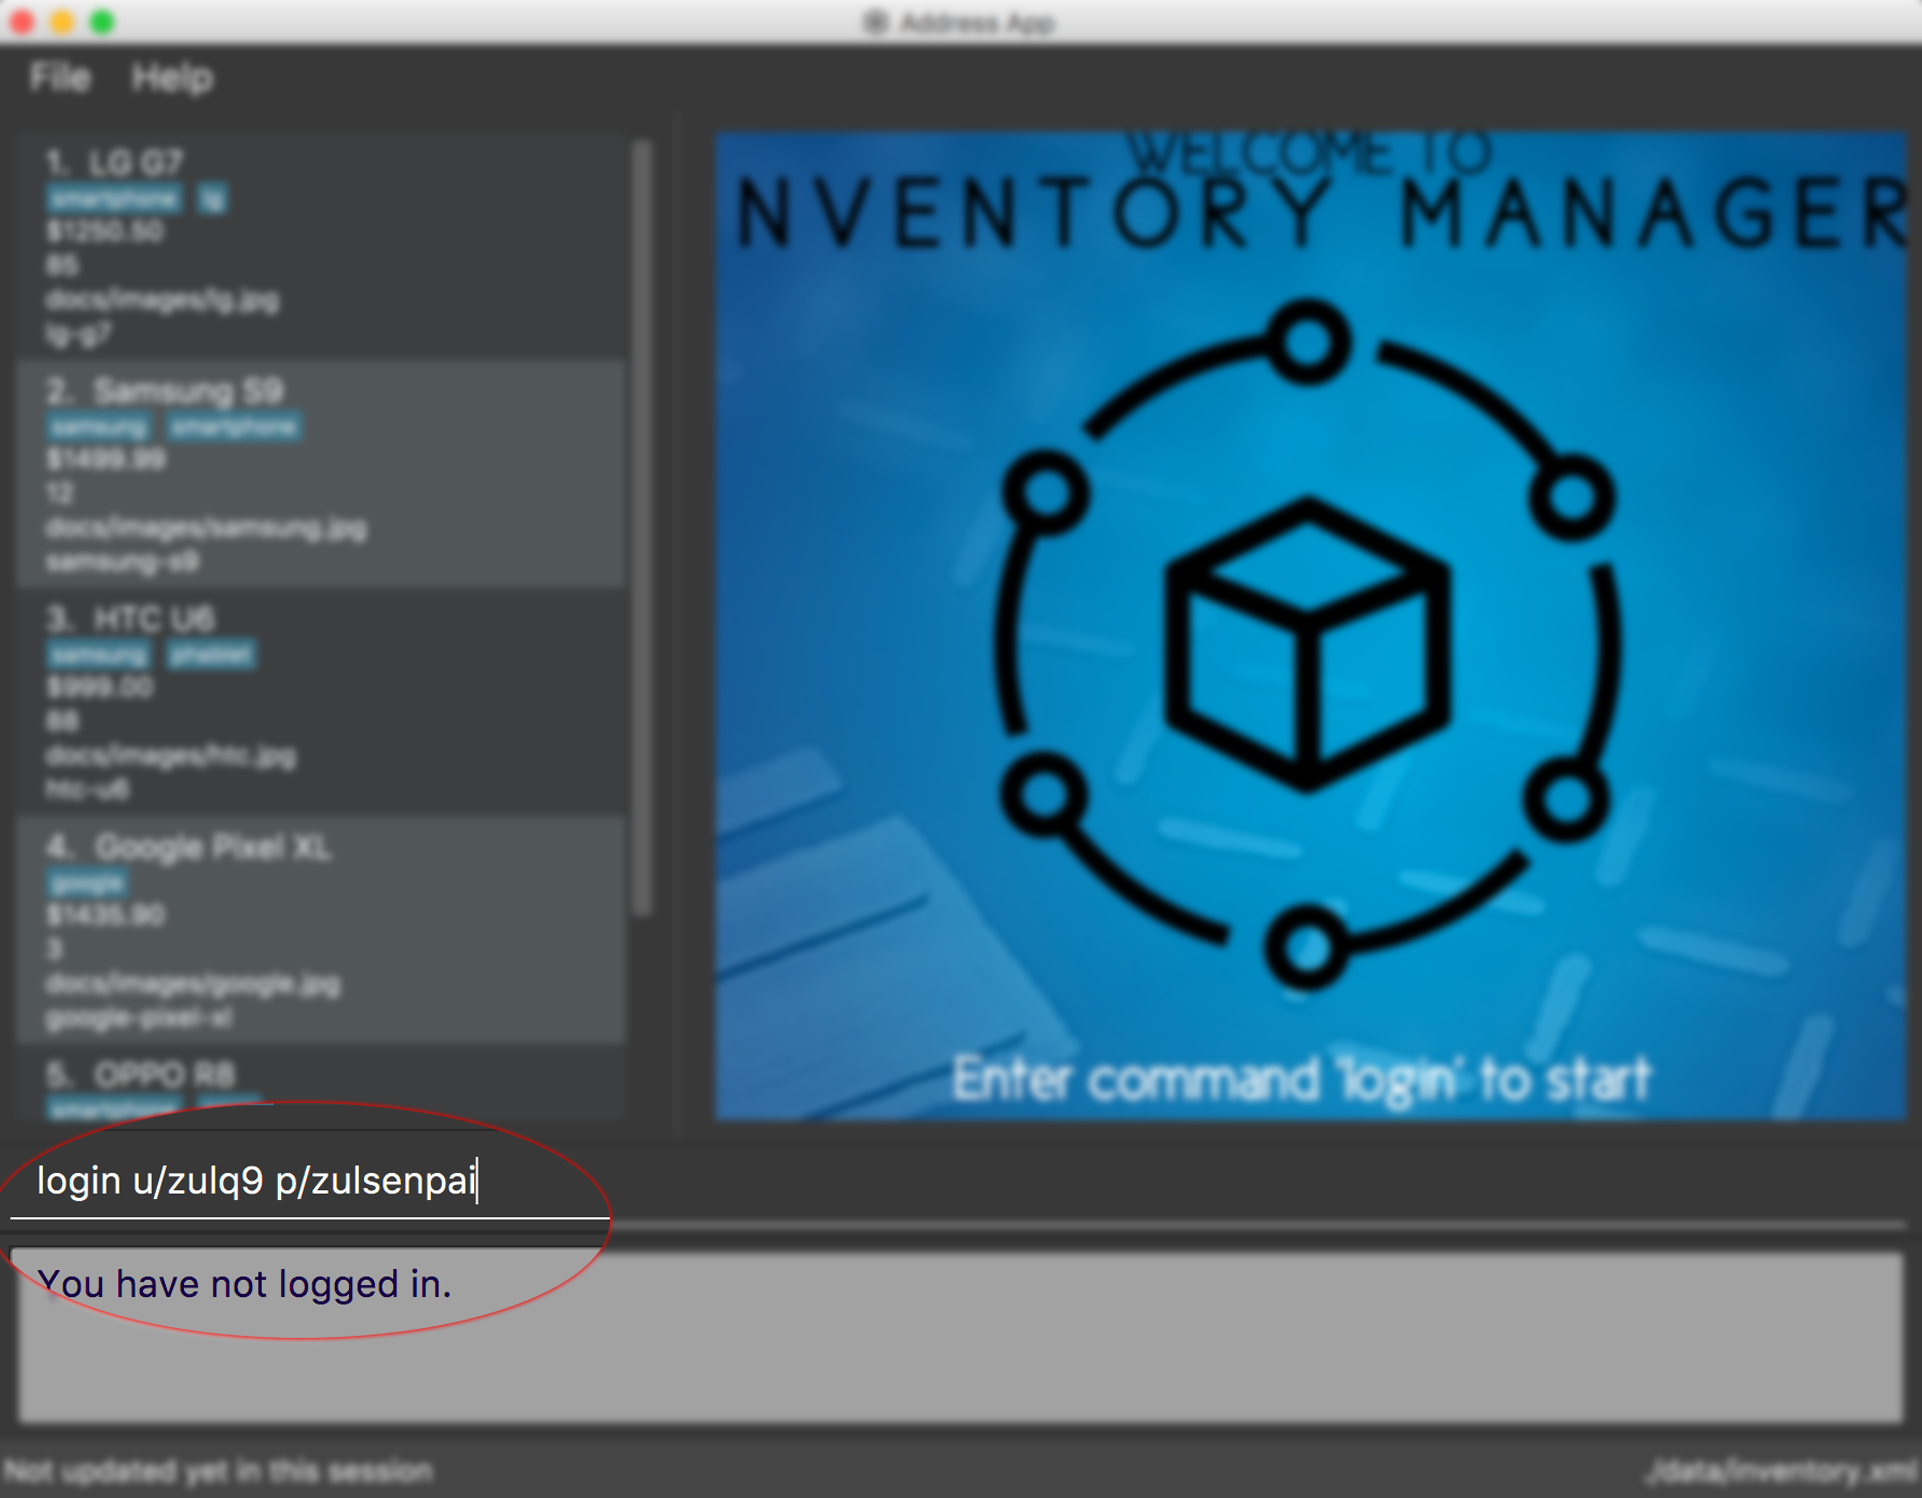
4.2.1. Log in to the system : login
The login command allows the user to login with given username and password.
Format: login u/USERNAME p/PASSWORD
Example: Login the user with username as admin and password as password.
login u/admin p/password
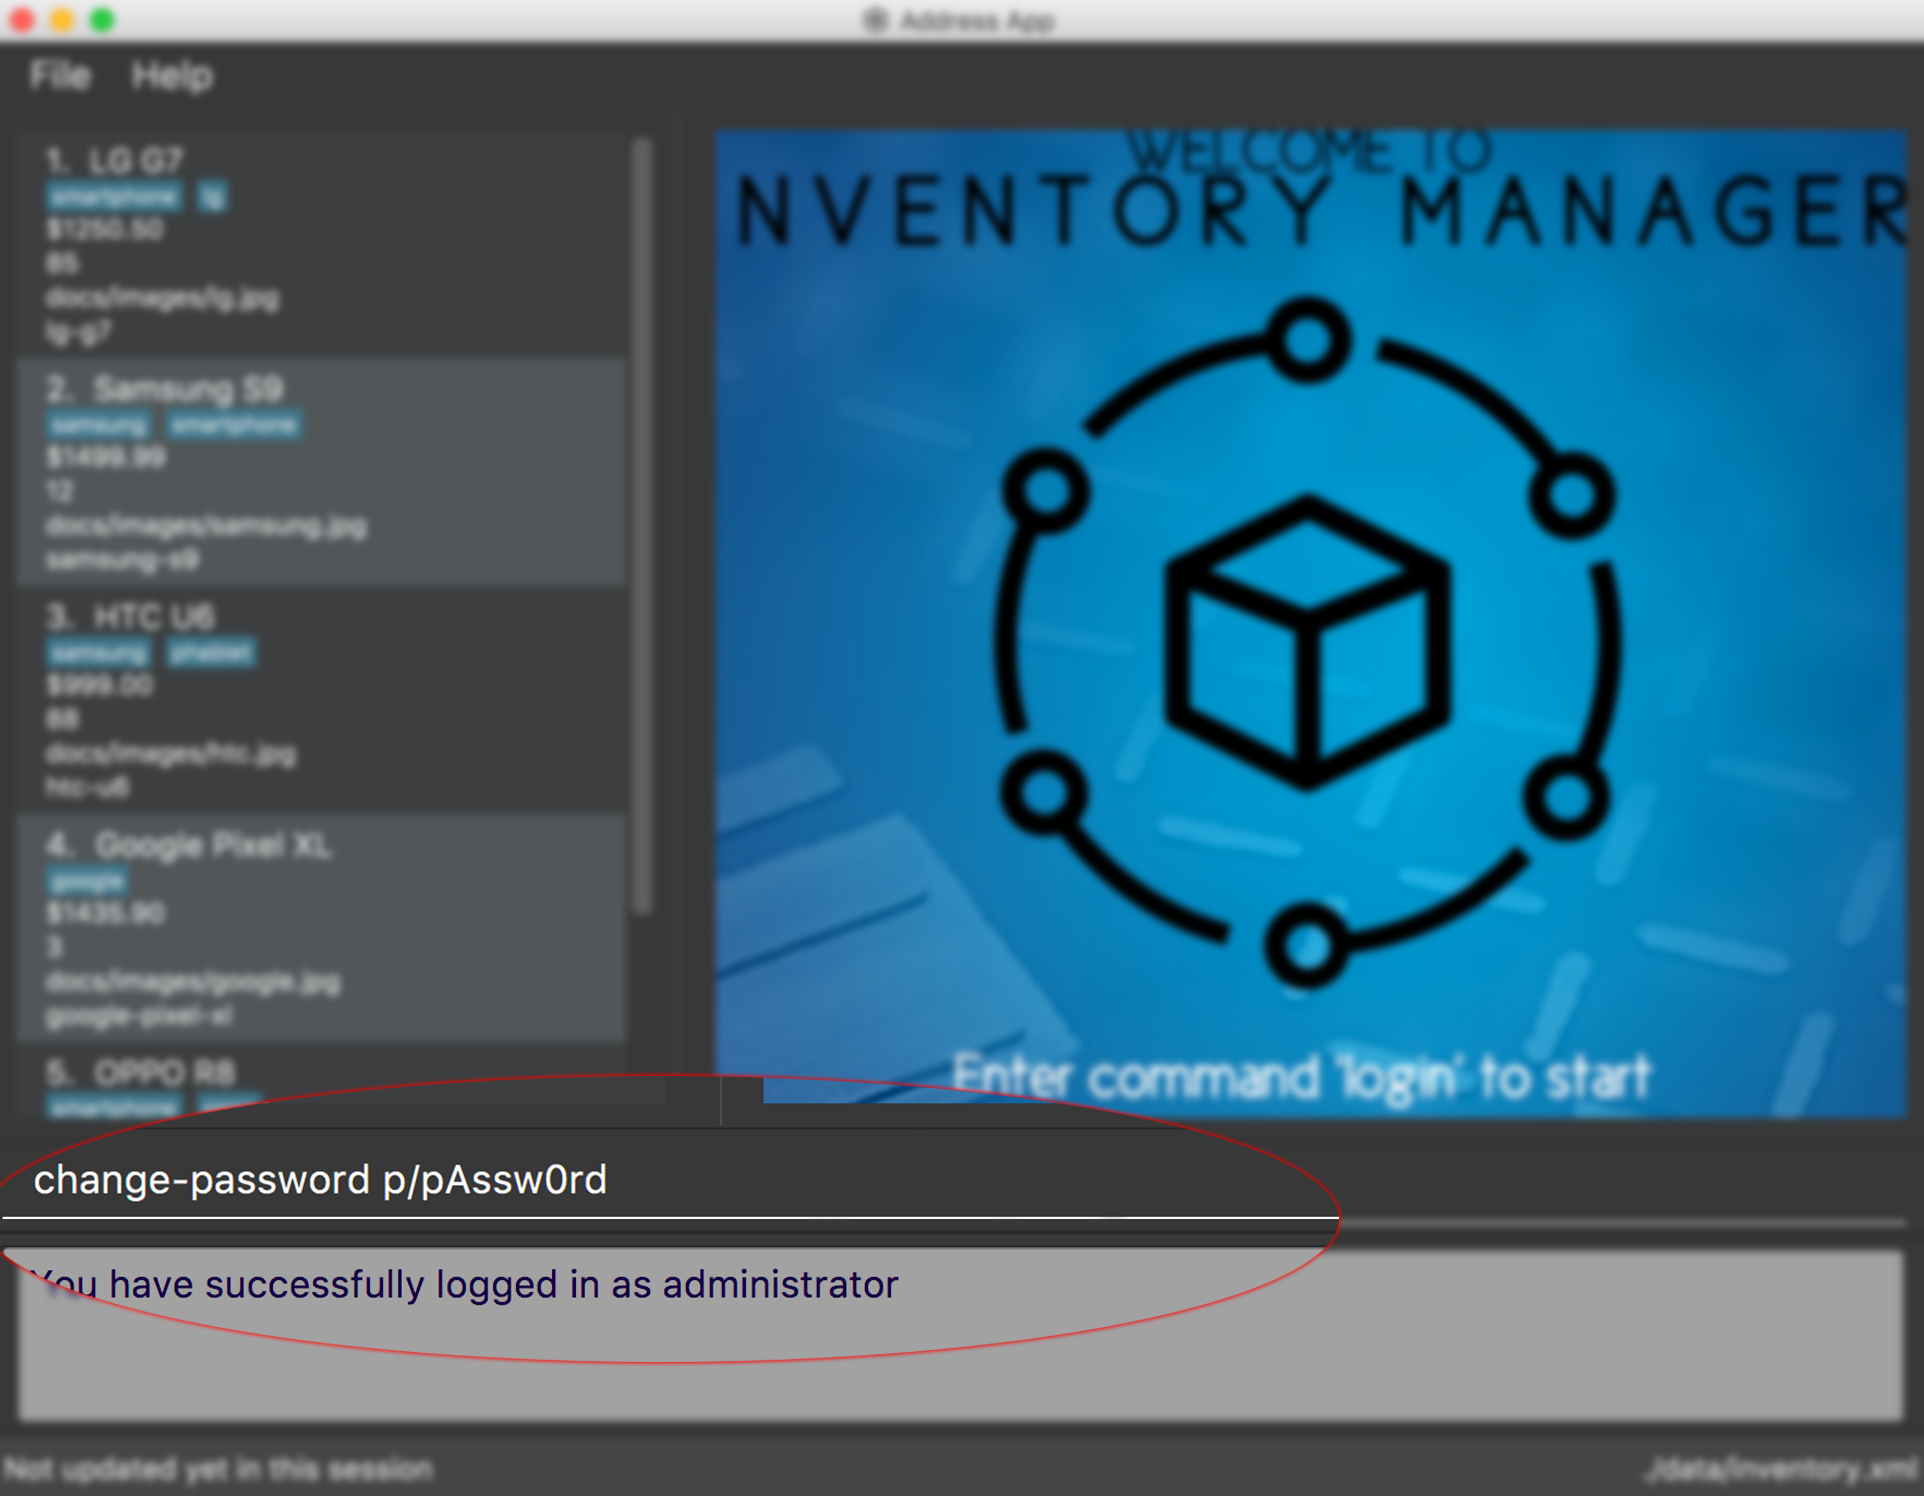
4.2.2. Change user’s password : change-password
The change-password command updates the user’s password in the system with a given new password.
Format: change-password p/NEW_PASSWORD
Examples:
-
Change user’s password with a given new password as darrensinglenus.
change-password p/darrensinglenus. -
Change user’s password with multiple new passwords provided. Only the final input, which is nussoccat, will be accepted.
change-password p/password p/nussoccat.
The image below shows a user entering the change-password.
4.2.3. Logout from the system : logout
The logout command signs out the current users from the system and removes all the commands history.
Format: logout
4.3. User Management
Admin of the system manages the staffs who use this application.
The following commands are only accessible to the admin to manage the users.
4.3.1. Add a user : add-staff
The add-staff command adds a user into the system.
Format: add-staff n/NAME u/USERNAME p/PASSWORD r/ROLE
Remark: ROLE can only be either user, manager or admin.
Examples:
-
Add staff with username as johnd, password as johndoe1, name as John Doe and role as manager.
add-staff u/johnd p/johndoe1 n/John Doe r/manager. -
Add staff with username as damith, password as softengn, name as Damith Rajapakse and role as user.
add-staff u/damith p/softengn n/Damith Rajapakse r/user.
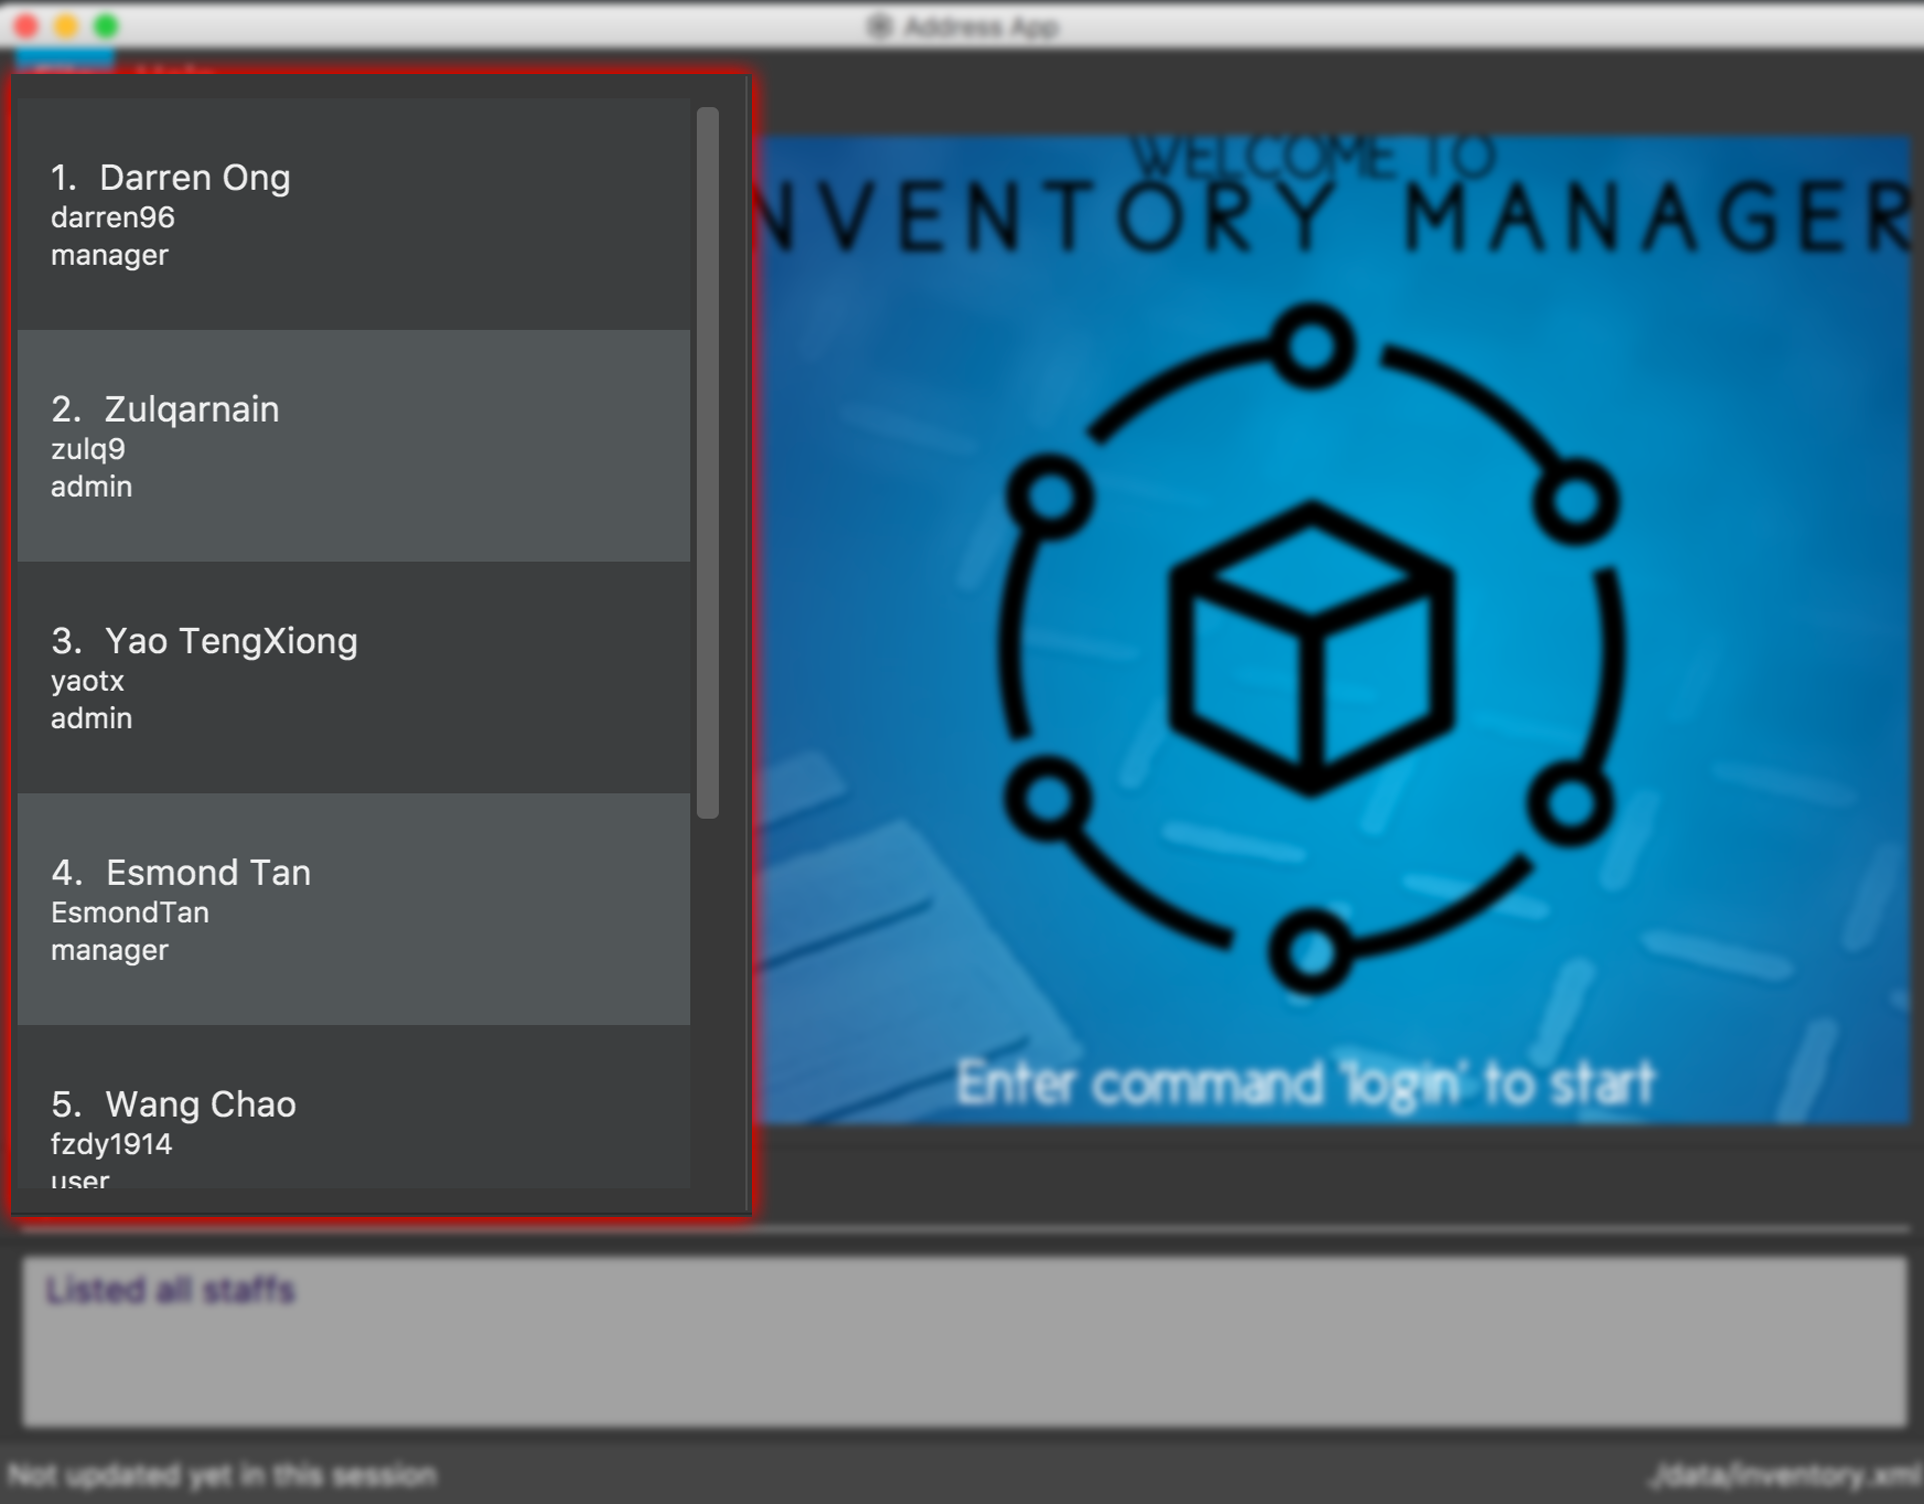
4.3.2. List all the users : list-staff
The list-staff command displays a list of existing users in the system.
Format: list-staff
The image below shows the application displayed a list of staff.
4.3.3. Update a user : edit-staff
The edit-staff command updates a user information into the system with the given username.
Format: edit-staff INDEX [n/NAME] [u/USERNAME] [p/PASSWORD] [r/ROLE]
Remark: ROLE can only be either user, manager or admin.
Examples:
-
Edit staff with given id, 3 in the list. Change name to Yao Teng Xiong and role as admin.
edit-staff 3 n/Yao Teng Xiong r/admin. -
Edit staff with given id, 2 in the list. Change username to zulq8 and password as meowmeowzul.
edit-staff 2 u/zulq8 p/meowmeowzul.
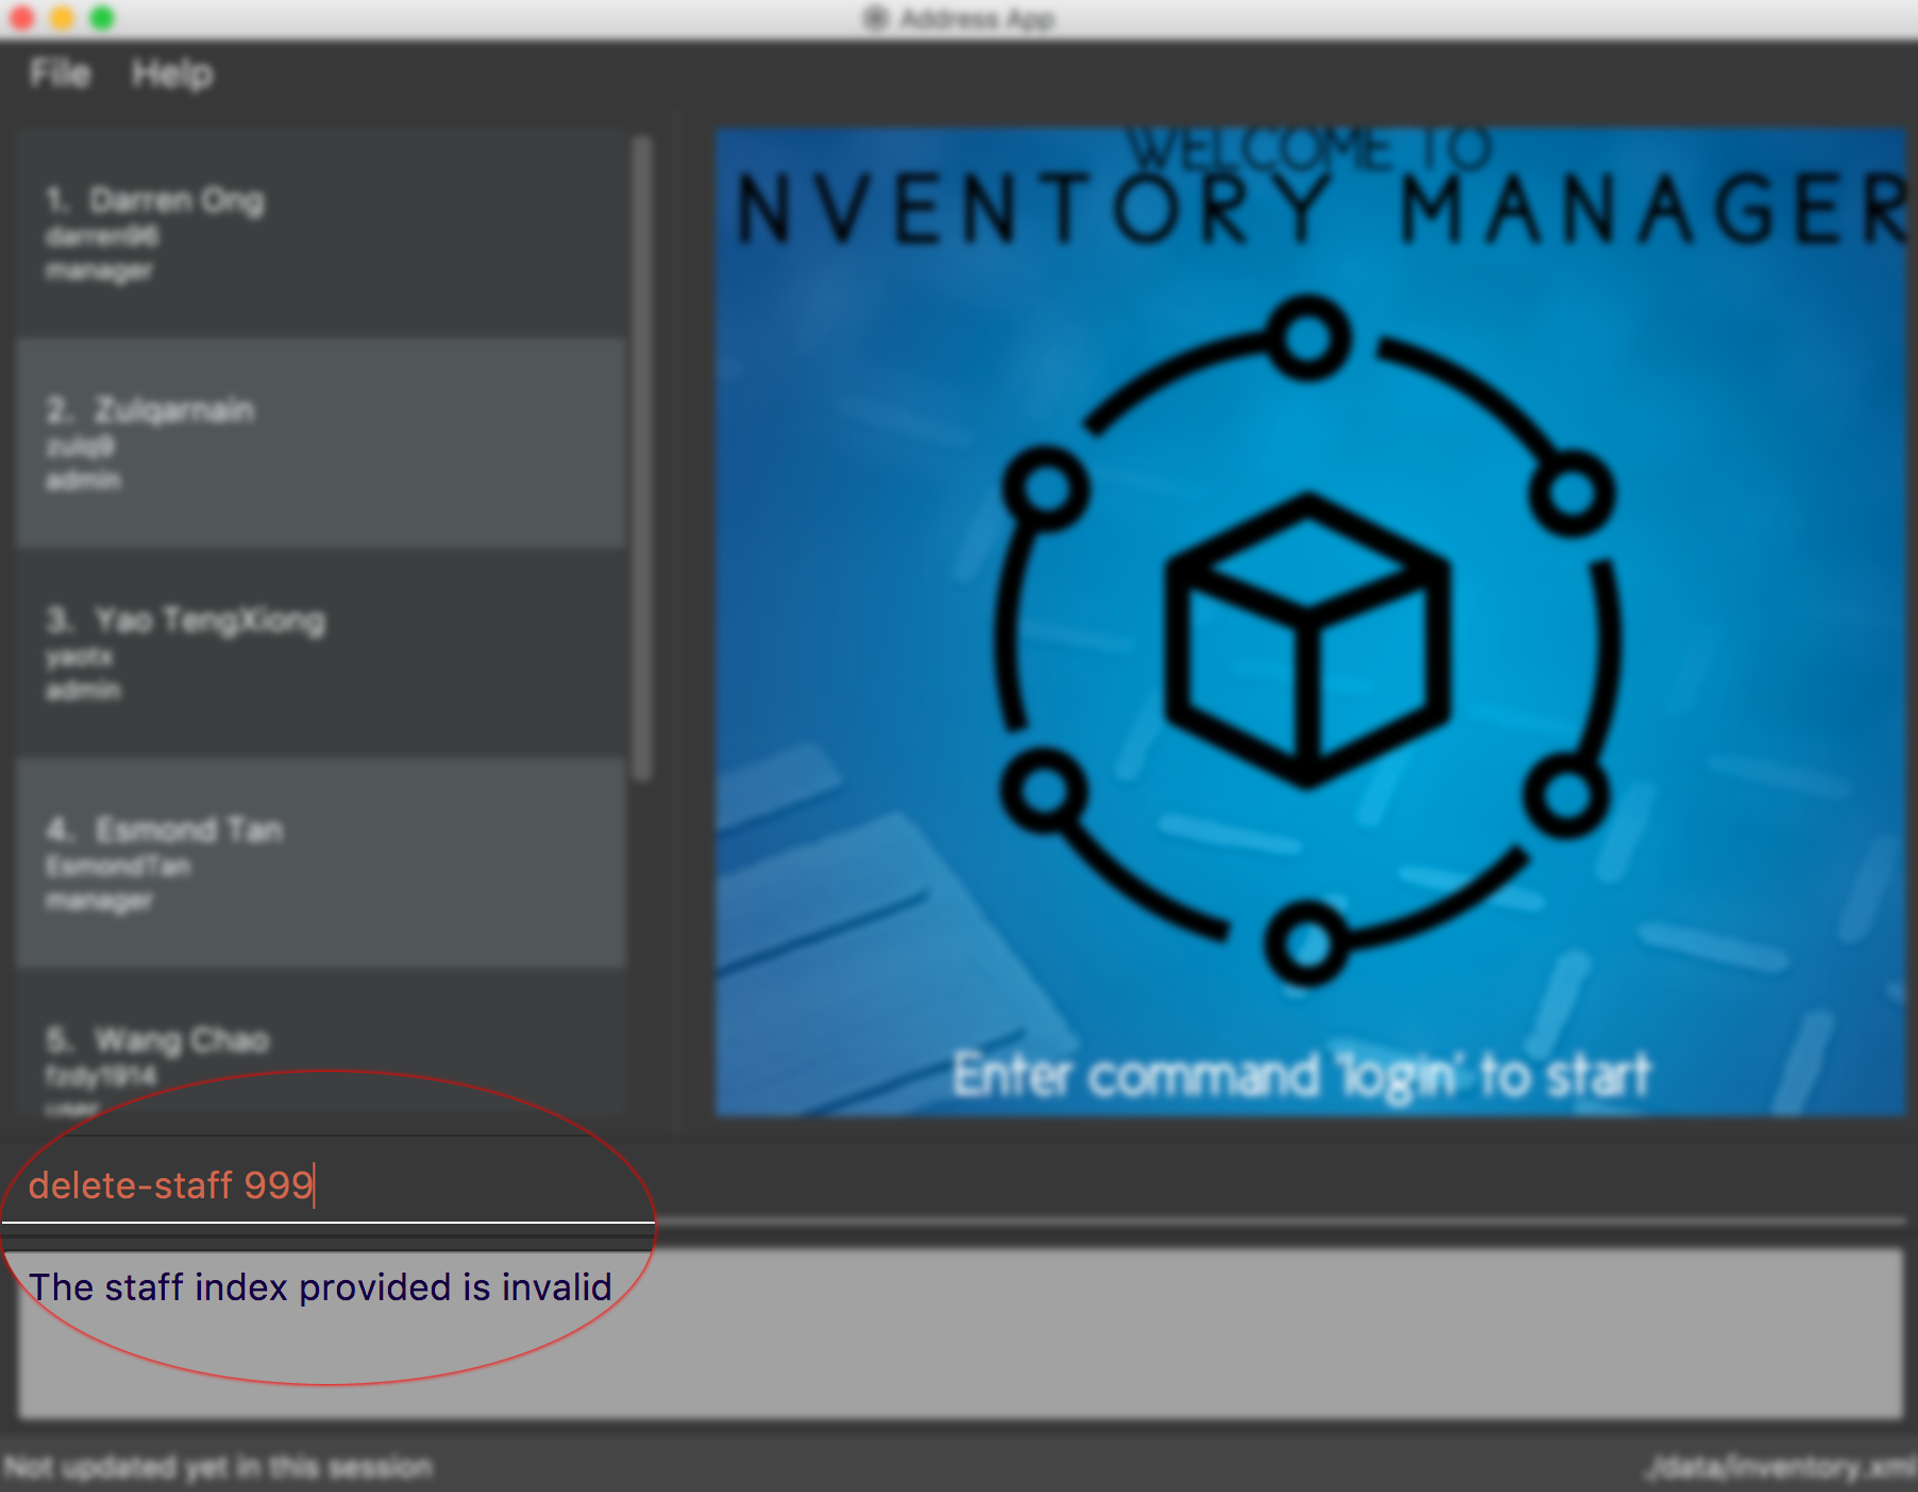
4.3.4. Delete a user : delete-staff
The delete-staff command deletes a user from the system with the given index as shown in the list.
Format: delete-staff INDEX
Examples:
-
Delete a user with given index as shown in the list.
delete-staff 1. -
Delete a user with an invalid index. The image below shows an expected output.
delete-staff 999.
4.4. Inventory Management
The following commands are mainly used for you to manage the items stored in your inventory.
|
An item’s uniqueness is based on its SKU. It can have the same name and other attributes but its SKU must be unique. |
4.4.1. Adding an item : add-item
The add-item command allows you to add an item to the inventory manager.
This command is available to members only.
Format: add-item n/NAME p/PRICE q/QUANTITY s/SKU i/IMAGE_LOCATION [t/TAG]…
| An item can have any number of tags (including 0). Therefore, you can add as many tags as you want to the item. |
Example:
-
add-item n/IPhone X p/1600 q/1000 s/SN-1234 i/docs/images/iphone.jpg t/smartphone t/apple
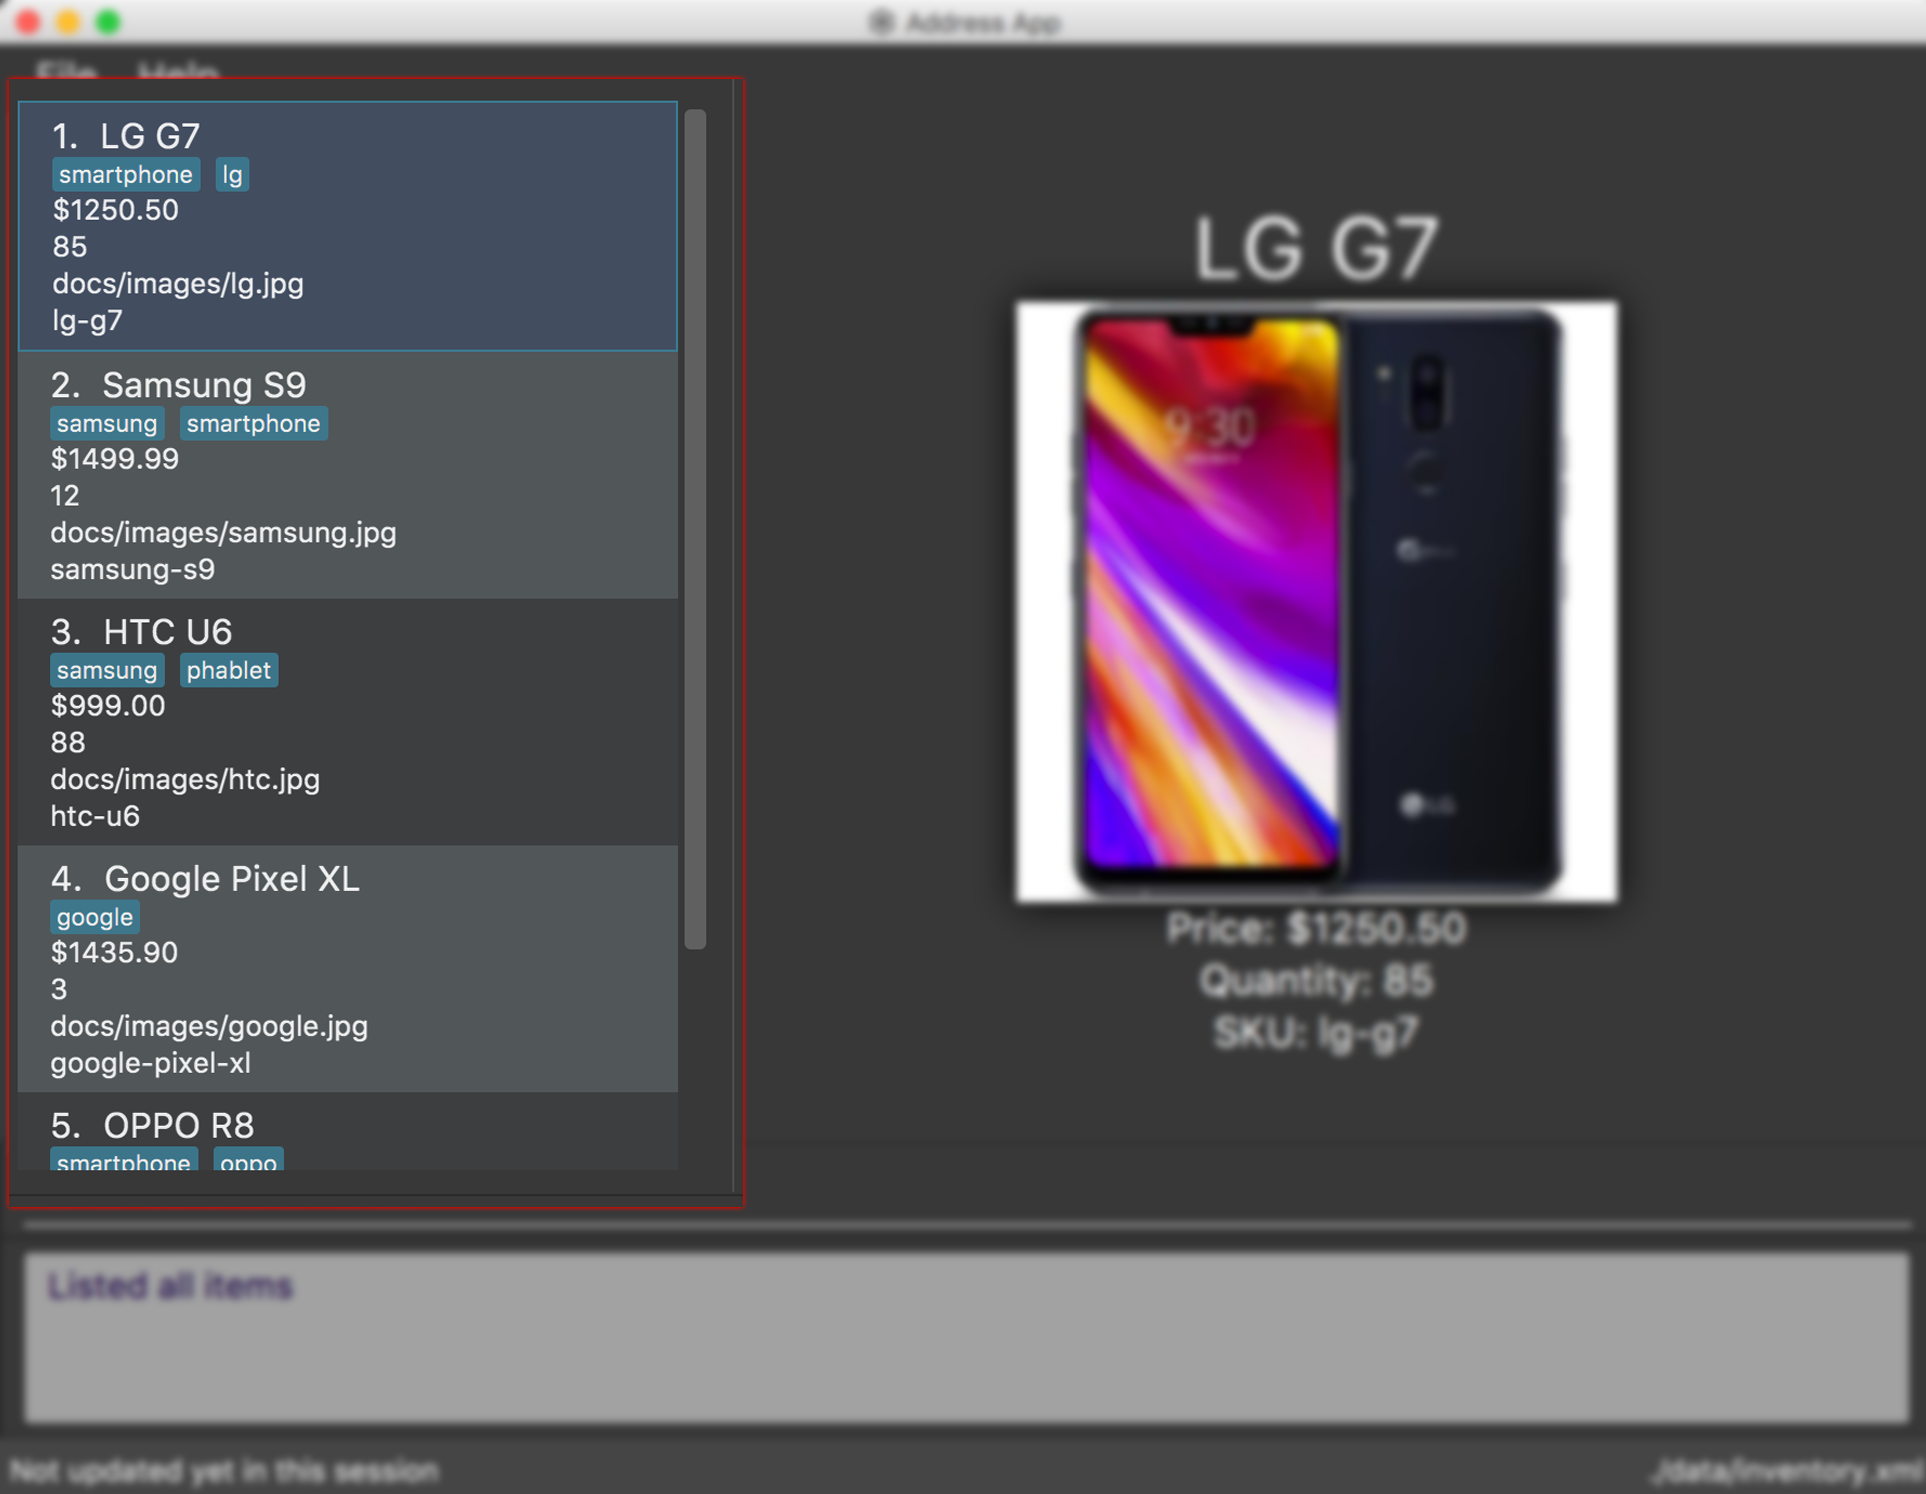
4.4.2. Listing all items : list-item
The list-item command shows you a list of all items in the inventory manager.
This command is available to members only.
Format: list-item
Upon entering the list-item command into the command box and pressing Enter, you should see a list of all items appearing
in the left side panel as can be seen in the screenshot below:
4.4.3. Listing all items with low quantities : list-low-qty
The list-low-qty command shows you a list of all items in the inventory manager that have low quantities.
This command is available to members only.
Format: list-low-qty
|
Upon entering the list-low-qty command into the command box and pressing Enter, you should see a list of all items with
quantities of 10 or less appearing in the left side panel similar to the list-item command.
4.4.4. Editing an item : edit-item
The edit-item command allows you to edit an existing item in the Inventory Manager.
This command is available to members only.
Format: edit-item INDEX [n/NAME] [p/PRICE] [q/QUANTITY] [s/SKU] [i/IMAGE_LOCATION] [t/TAG]…
|
If the edited item has its SKU changed and it exists in a purchase order, the purchase order will also be edited accordingly based on the edited item’s new SKU. |
For the edit-item command, do take note of the following points:
Examples:
-
edit-item 5 s/SN-8888
Updates the SKU and tags of the 5th item toSN-8888. -
edit-item 1 i/docs/images/iphone.jpg q/999
Updates the image location and quantity of the 1st item todocs/images/iphone.jpgand999respectively.
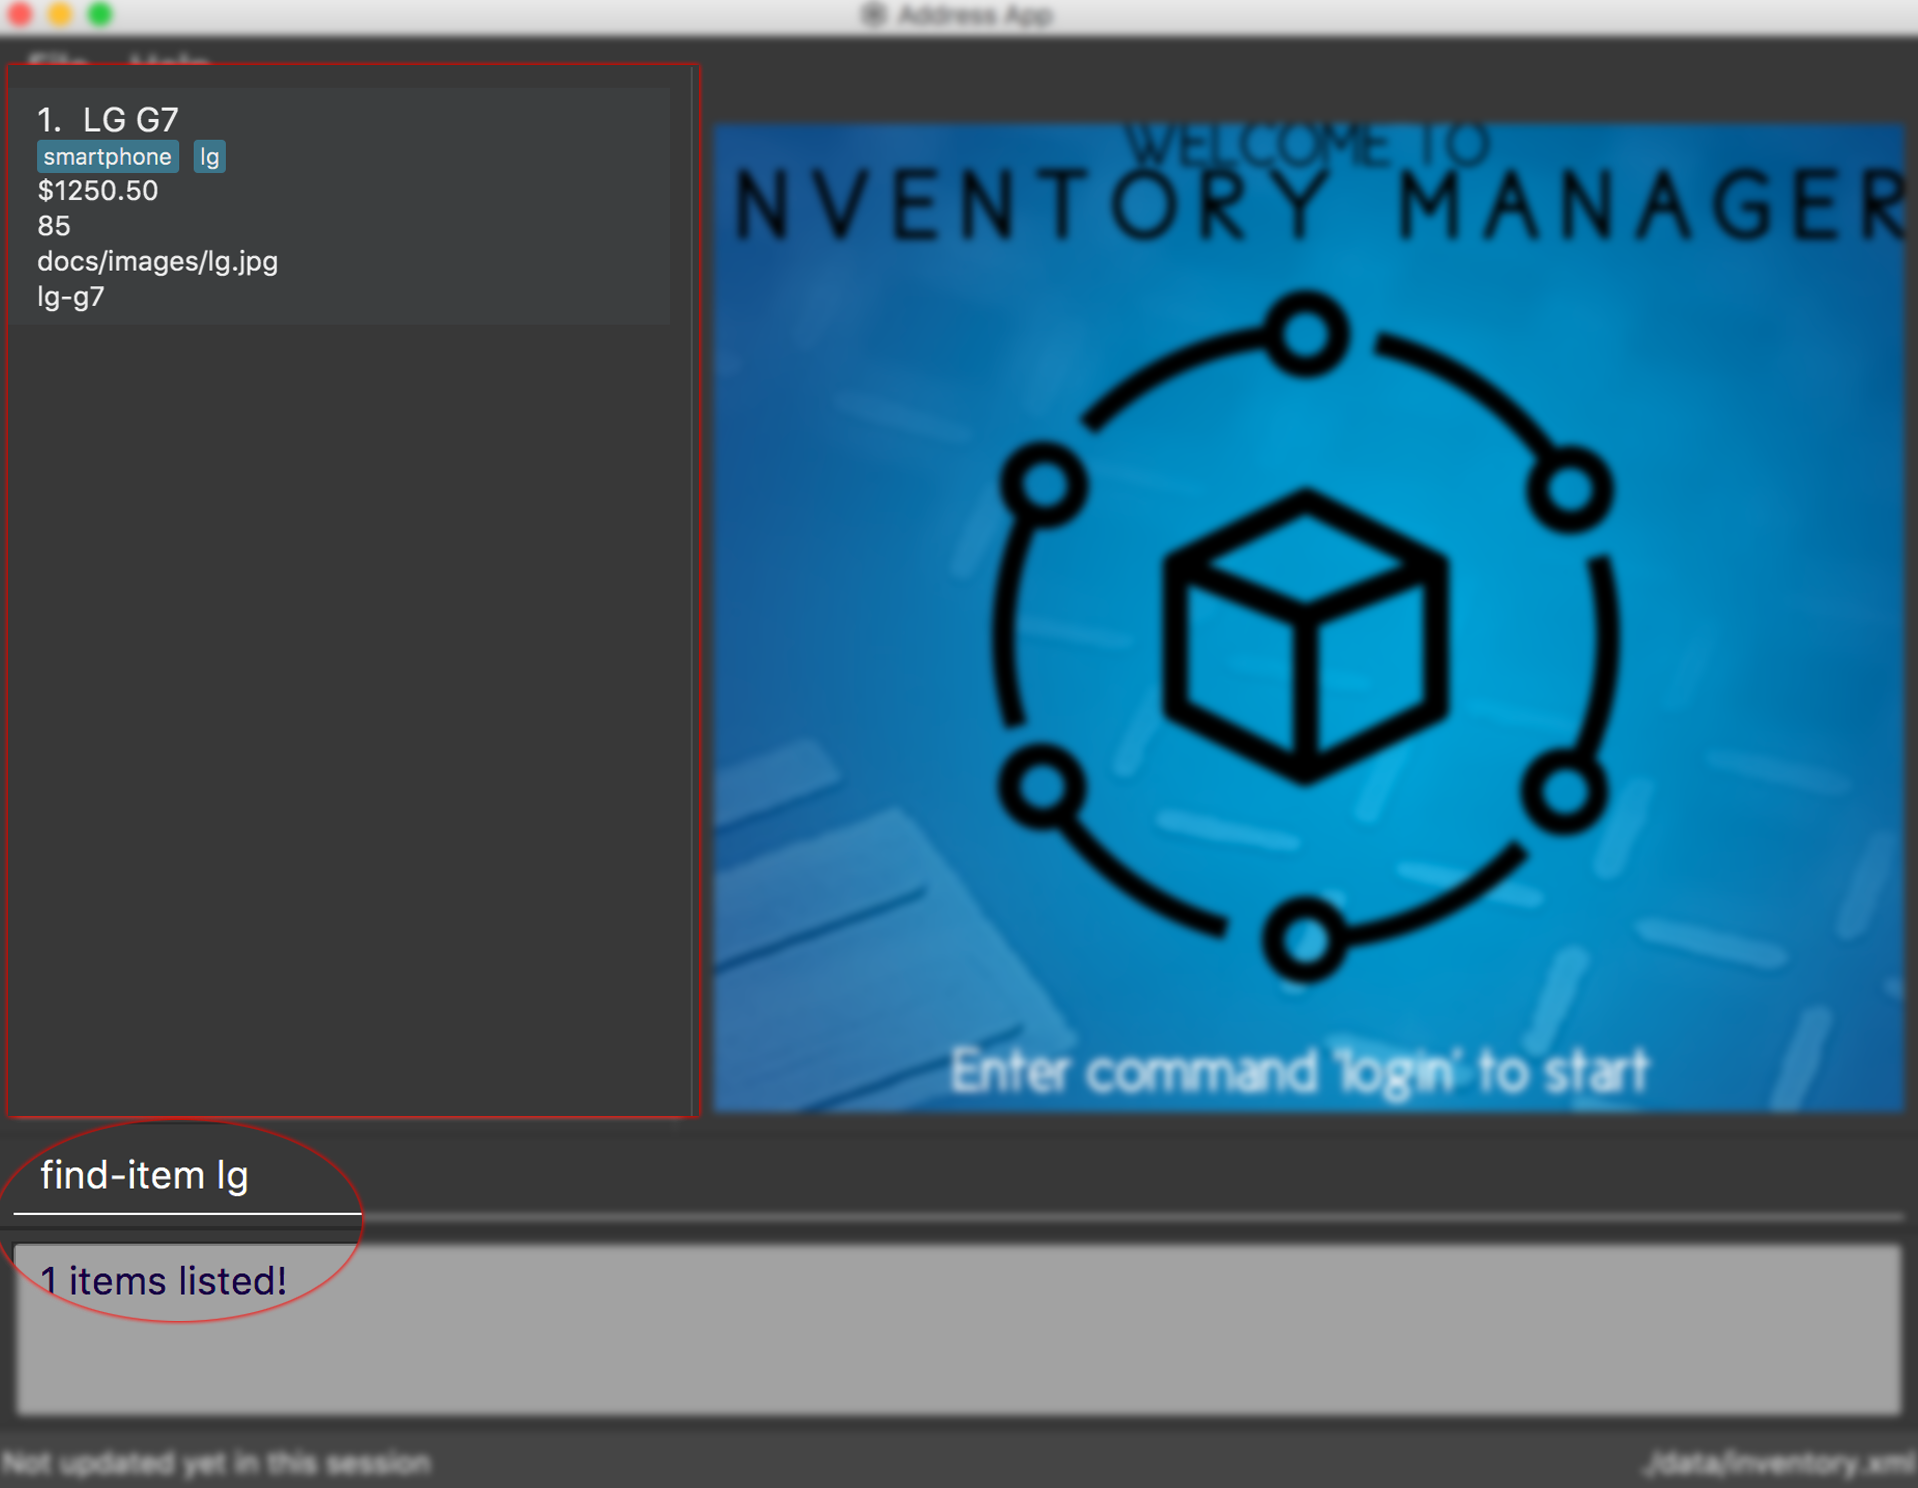
4.4.5. Locating items by name : find-item
The find-item command allows you to find items that have names containing any of the given keywords.
This command is available to members only.
Format: find-item KEYWORD [MORE_KEYWORDS]
Multiple keywords are allowed for the find-item command.
|
For the find-item command, do take note of the following points:
The following screenshot demonstrates entering the find-item command in the command box with the keyword LG, followed by Enter:
4.4.6. Locating items by SKU : find-item-sku
The find-item-sku command allows you to find items that have SKUs containing any of the given keywords.
This command is available to members only.
Format: find-item-sku KEYWORD [MORE_KEYWORDS]
Just like the find-item command, multiple keywords are allowed for the find-item-sku command.
|
For the find-item-sku command, do take note of the following points:
Example:
-
find-item-sku iphone
ReturnsIPhone XandIPhone 10, which contains the SKUsiphone-xandiphone-10respectively.
4.4.7. Filtering items by price and/or quantity : filter-item
The filter-item command allows you to filter items that have prices and/or quantities within the conditions set in the keywords.
This command is available to members only.
Format: filter-item [p/[<][>]PRICE] [q/[<][>]QUANTITY]
| To narrow down the scope, you can combine both conditions or use only one condition to filter your items. |
For the filter-item command, do take note of the following points:
Examples:
-
filter-item p/>900
ReturnsIPhone XandIPhone 10which both have prices more than or equal to $900. -
filter-item p/<800 q/<100
ReturnsSamsung Note 9which has a price of less than or equals to $800, and a quantity of less than or equals to 100.
4.4.8. Deleting an item : delete-item
The delete-item command allows you to delete the specified item from the inventory.
This command is available to members only.
Format: delete-item INDEX
|
All sale orders and purchase orders containing the deleted item will be deleted as well. |
For the delete-item command, do take note of the following points:
Examples:
-
list-item
delete-item 2
Deletes the 2nd item in the inventory. -
find-item IPhone X
delete-item 1
Deletes the 1st item in the results of thefind-itemcommand.
4.4.9. Selecting an item : select
The select command allows you to select an item identified by the index number used in the displayed inventory list.
This command is available to members only.
Format: select INDEX
For the select command, do take note of the following points:
Examples:
-
list-item
select 2
Selects the 2nd item in the inventory. -
find-item IPhone X
select 1
Selects the 1st item in the results of thefind-itemcommand.
4.5. Sale Orders Management
All authenticated users can manage sale orders on the system using the commands below.
4.5.1. Creating a sale order : add-sale
The add-sale command is only available to the Member group. It allows the user to add a new sale order into Inventory Manager. Adding a new sale order will deduct the
item quantity automatically. User will need to ensure that the entered item SKU and sold quantity is valid.
If an invalid SKU or quantity is entered, Inventory Manager will display an error on screen. The screenshot below is an example of an error when an invalid SKU is entered.
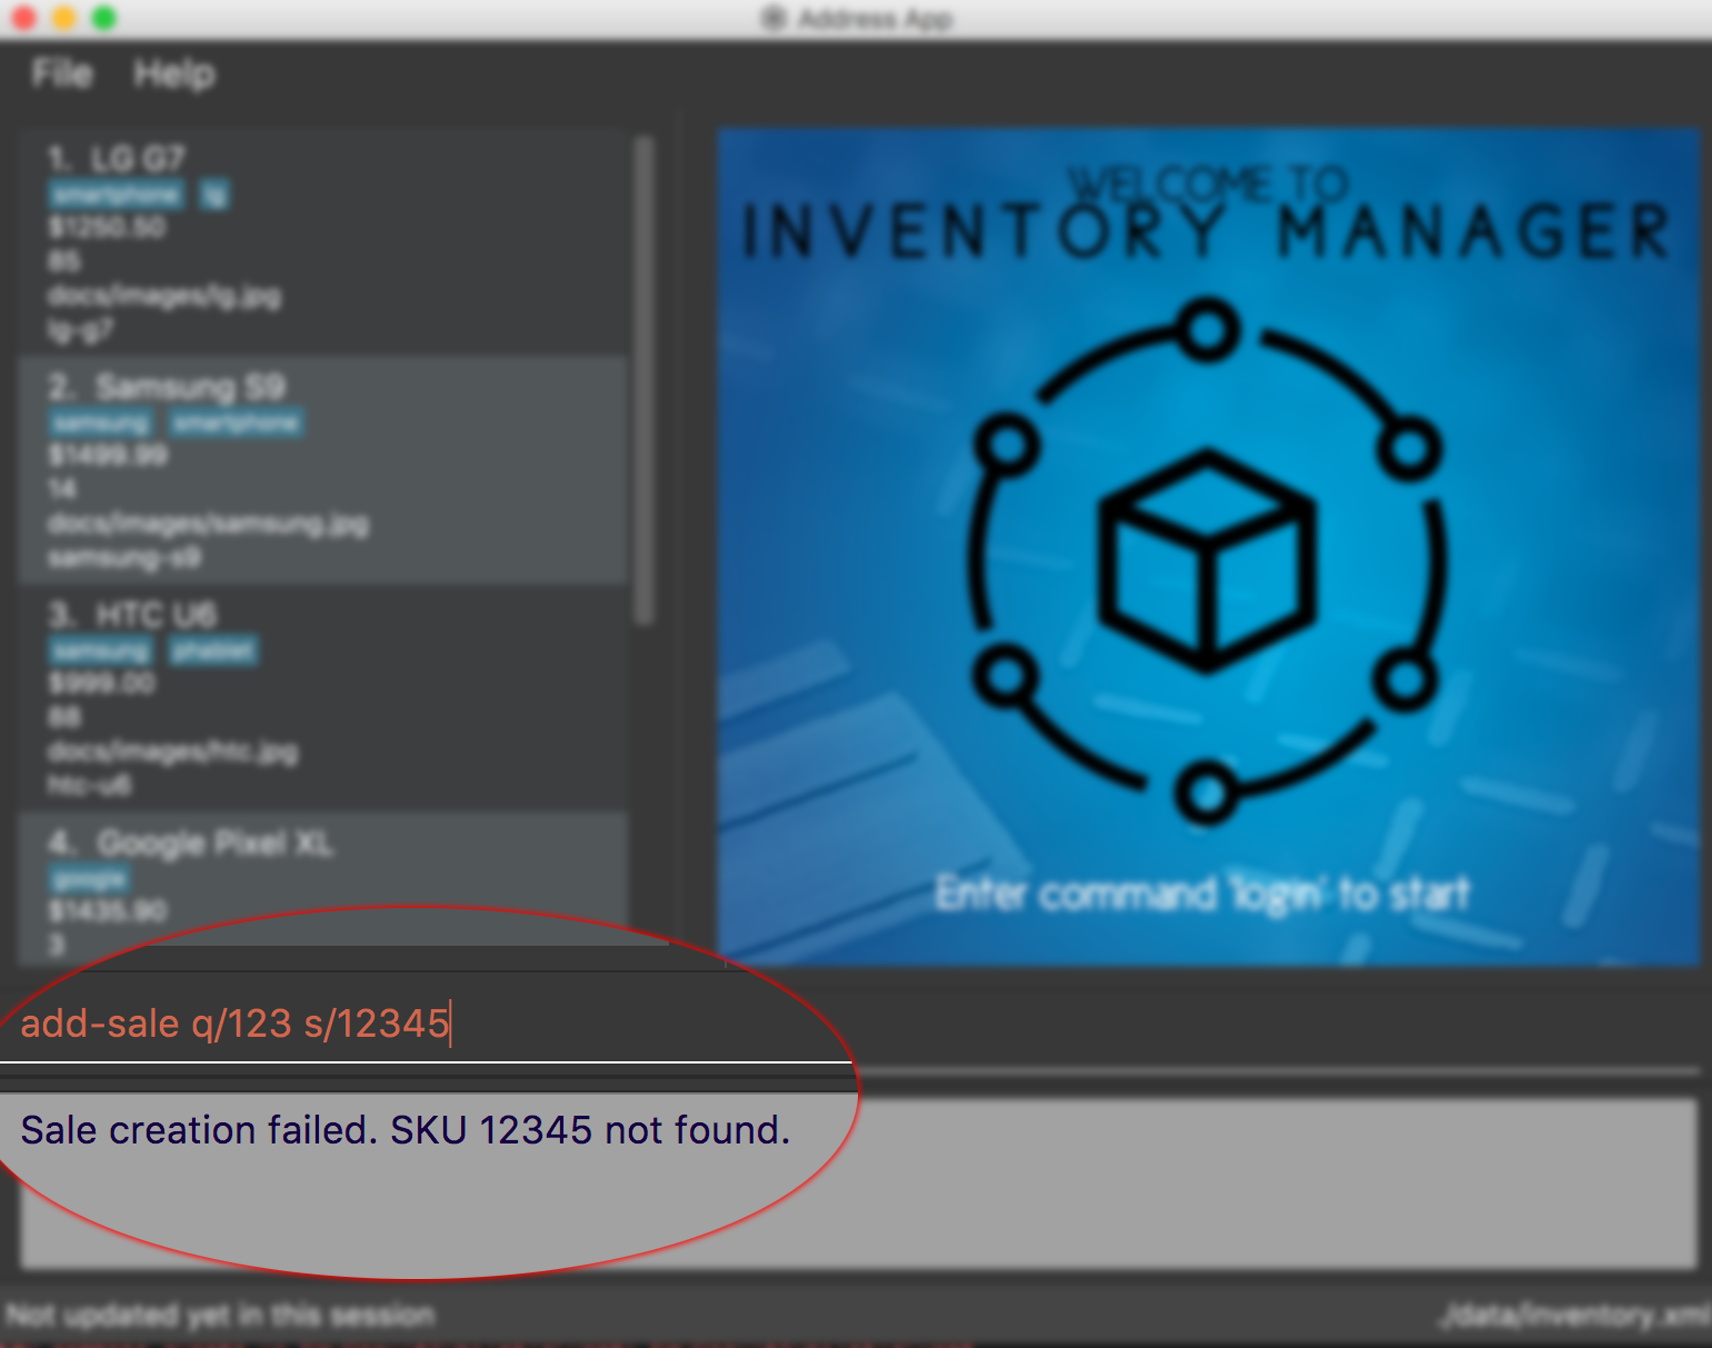
Format: add-sale s/SKU q/QTY
Example:
-
User sold 5 quantity of a product with SKU 0123.
add-sale s/0123 q/5
4.5.2. Deleting a sale order : delete-sale
The delete-sale command is only available to the Member group. It allows the user to delete a specific sale order in Inventory Manager. Deleting a sale order will restore
the inventory quantity deducted automatically. User will need to ensure that the entered sale ID is valid.
If a sale ID that cannot be found is entered, Inventory Manager will display an error on screen. The screenshot below is an example of an error when an invalid sale ID is entered.
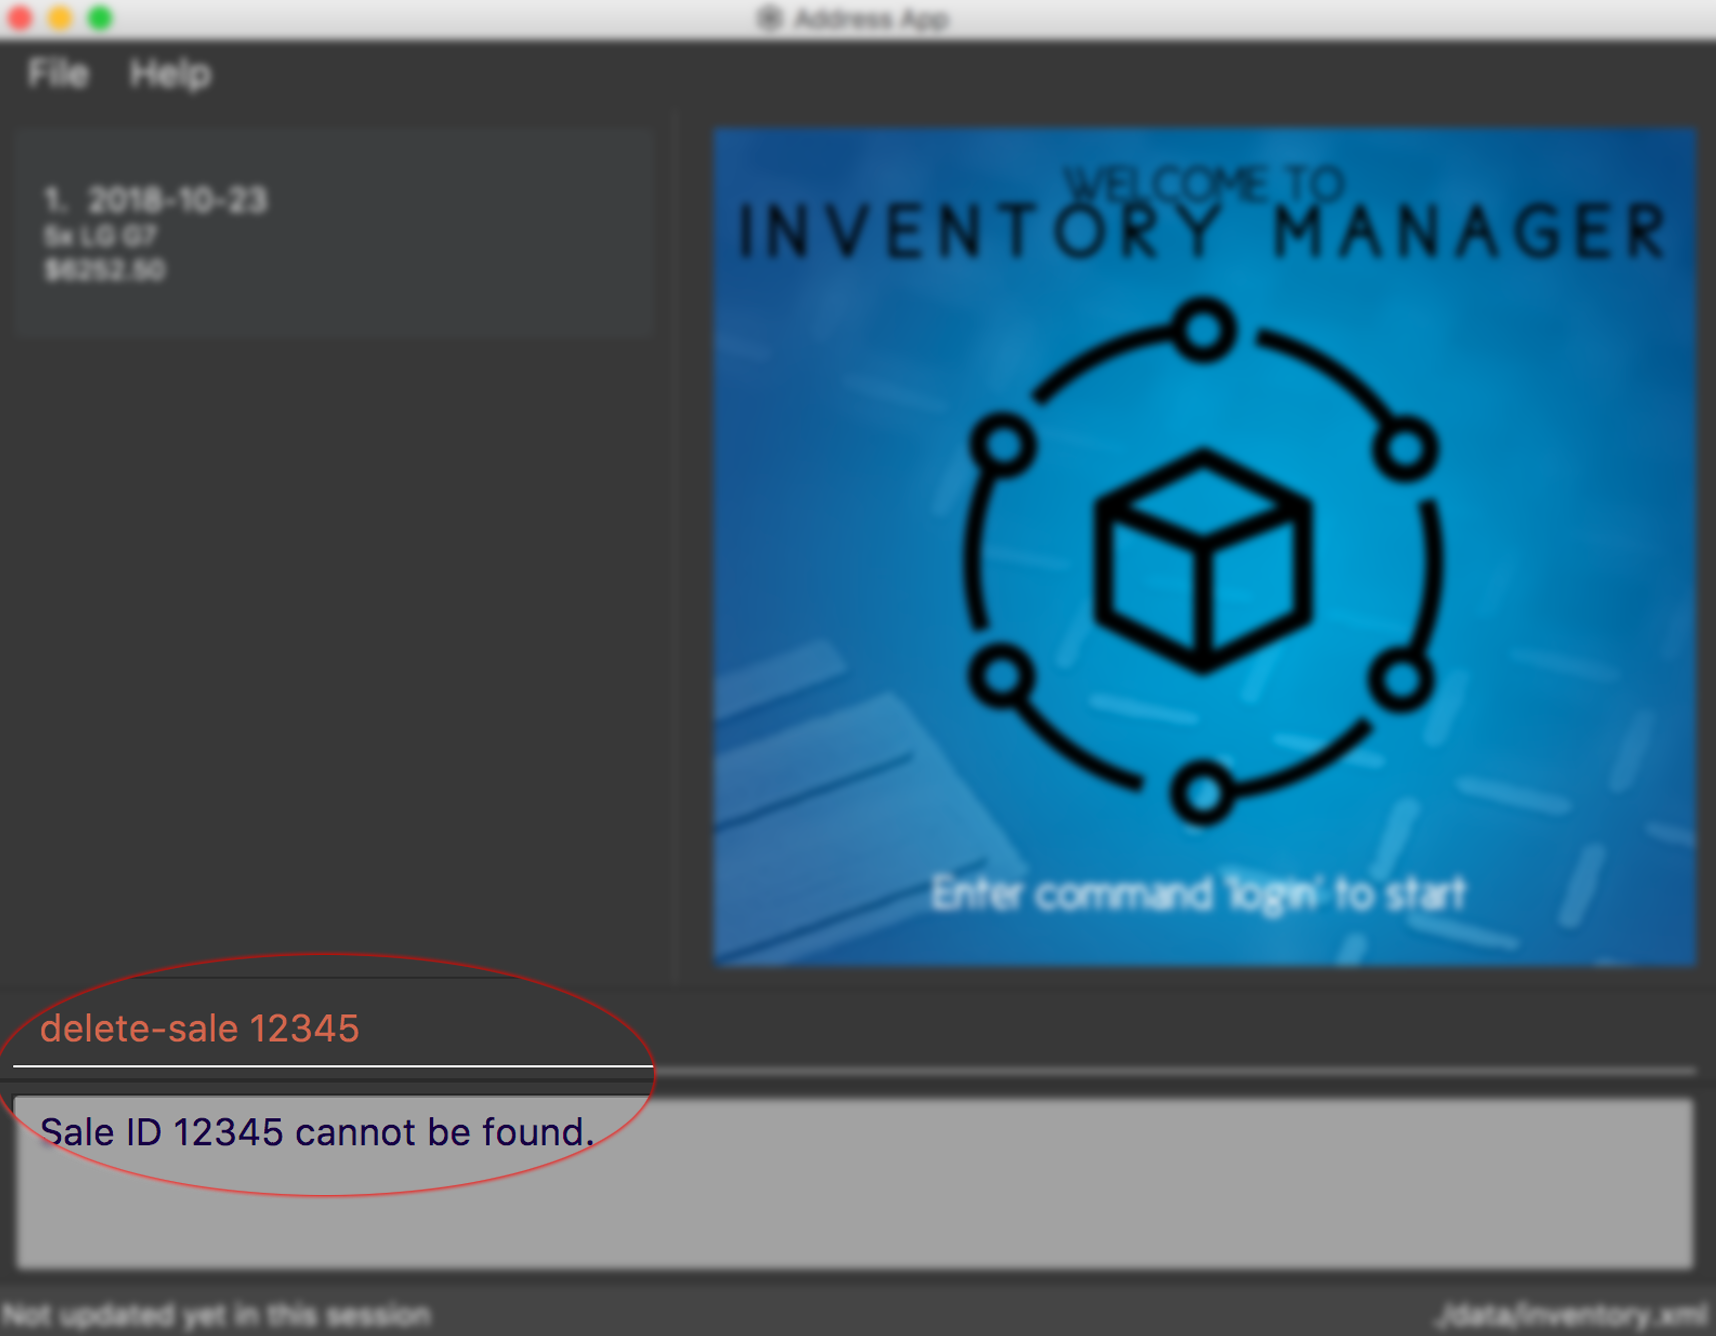
Format: delete-sale SALE-ID
Example:
-
User wishes to delete sale ID 12.
delete-sale 12
4.5.3. Listing sale orders : list-sale
The list-sale command is only available to the Member group. It allows the user to list all sale orders in Inventory Manager.
The screenshot below shows the result after the list-sale command has been entered.
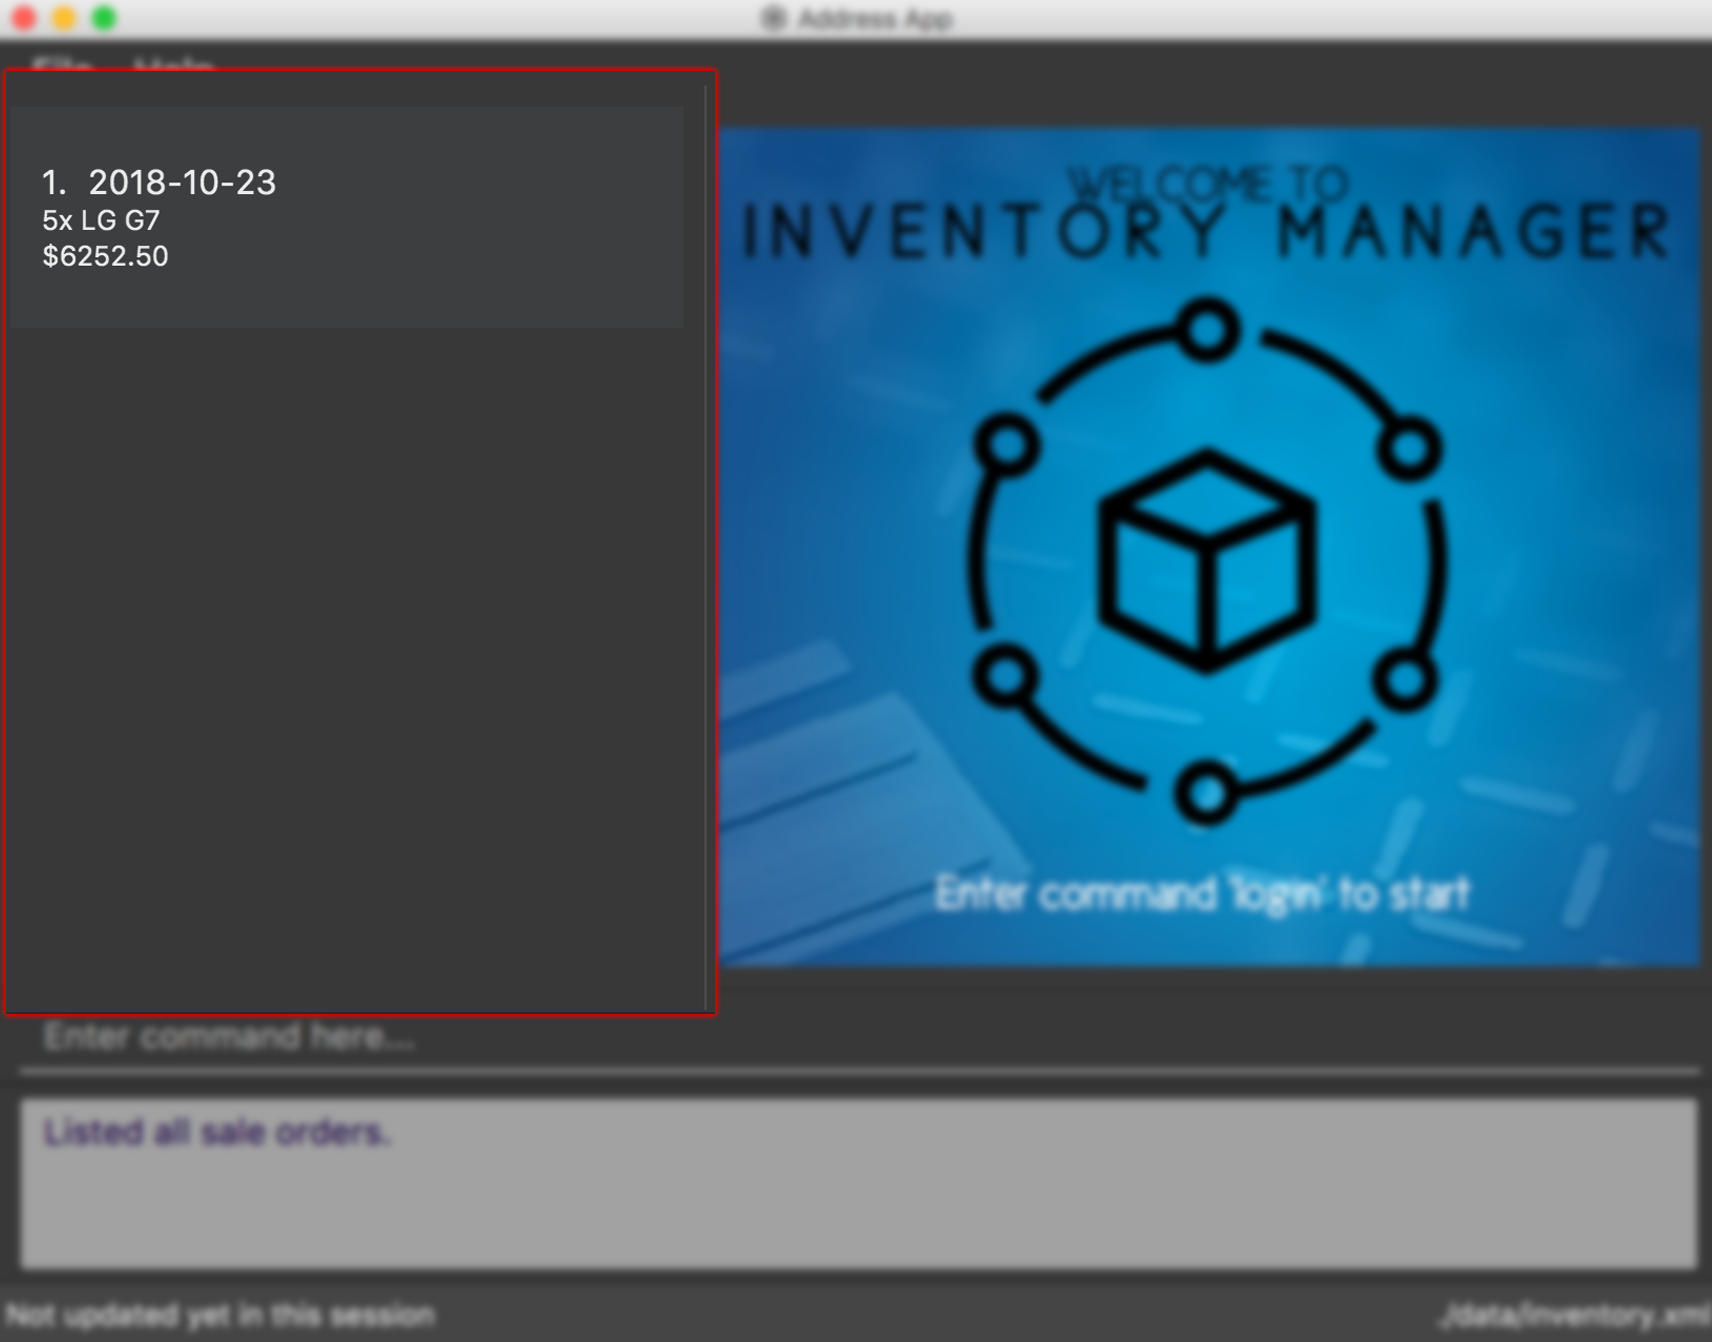
Format: list-sale
Example:
-
User wishes to list all sale orders.
list-sale
4.6. Purchase Orders Management
The following commands are used to manage purchase order.
4.6.1. Listing all purchase order : list-po
The list-po command is only available to the Member group.
It allows the user to list all purchase orders in Inventory Manager.
The screenshot below shows the result after the list-po command is entered.
Format: list-po
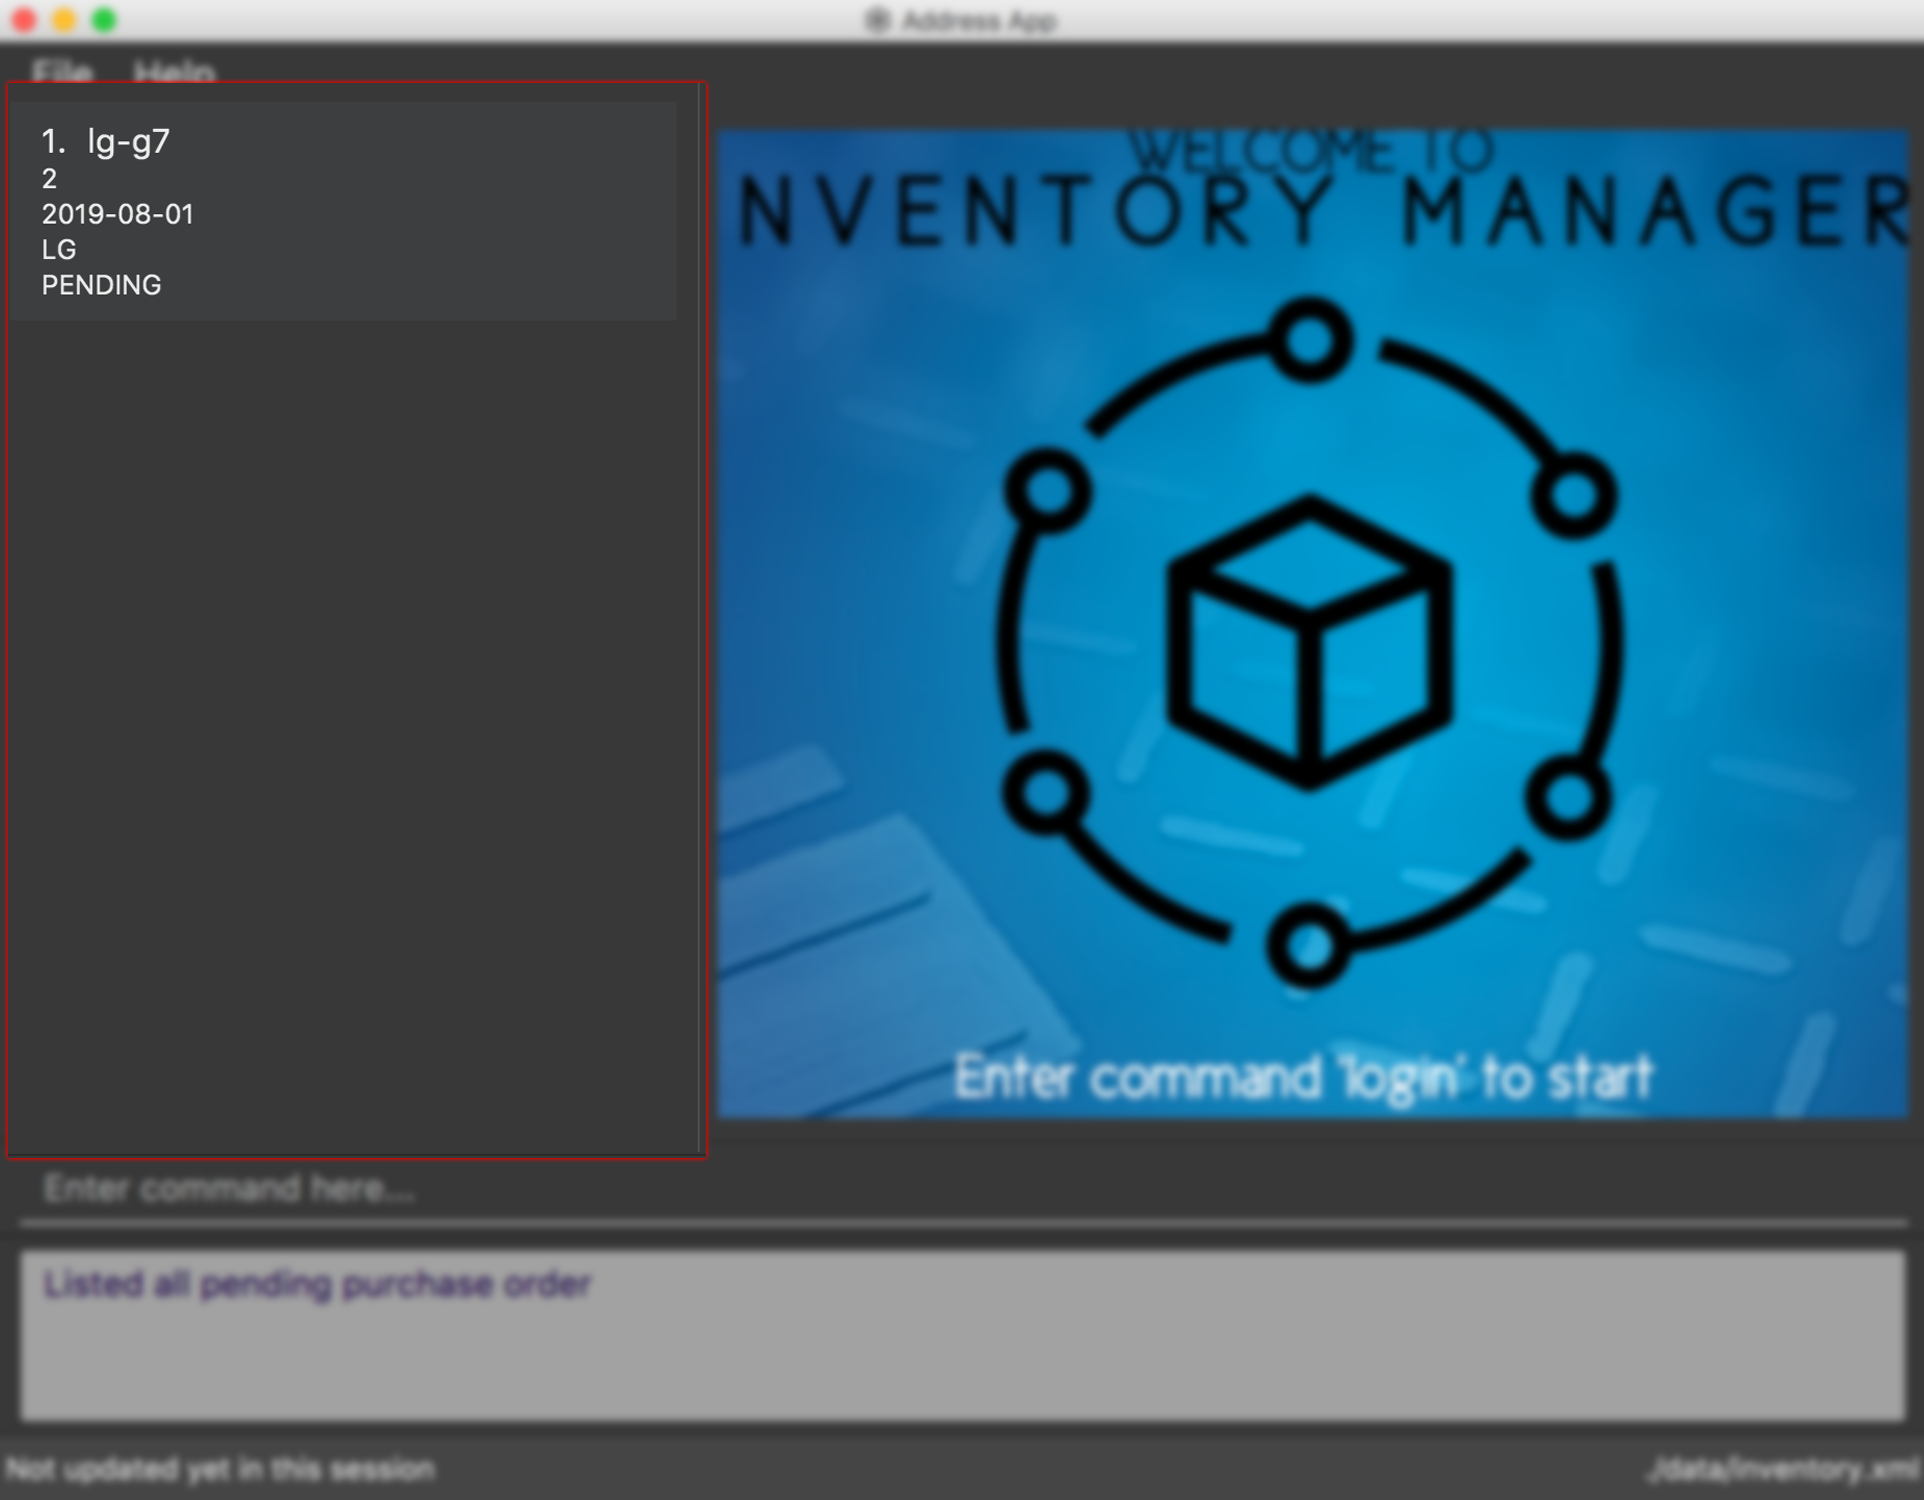
4.6.2. Adding a purchase order : add-po
The add-po command is only available to the Member group.
It allows the user to add a purchase order for an item based on it’s sku.
The added purchase order comes with a default status of 'PENDING' as shown in the figure below.
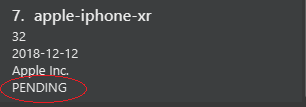
Format: add-po s/SKU_NUMBER q/QUANTITY d/REQUIRED_DATE sp/SUPPLIER
Examples:
-
add-po s/apple-iphone-xr q/1000 d/2018-12-12 sp/Apple Inc -
add-po s/samsung-s9 q/12 d/2101-12-12 sp/Samsung
4.6.3. Approving a purchase order : approve-po
The approve-po command is only available to the Manager.
It allows the manager to approve the specified purchase order from the purchase order list.
Upon approving, the quantity stated in the purchase order will be added to the designated item.
Format: approve-po INDEX
For the approve-po command, do take note of the following points:
Example:
-
list-po
approve-po 1
Approves the first purchase order in the purchase order list.
4.6.4. Rejecting a purchase order : reject-po
The reject-po command is only available to the Manager.
It allows the manager to reject the specified purchase order from the purchase order list.
Format: reject-po INDEX
For the reject-po command, do take note of the following points:
Example:
-
list-po
reject-po 1
Rejects the first purchase order in the purchase order list.
4.6.5. Editing a purchase order : edit-po
The edit-po command is only available to the Member group.
It allows the user to edit the specified purchase order from the purchase order list.
Format: edit-po INDEX [q/QUANTITY] [d/REQUIRED_DATE] [sp/SUPPLIER]
For the edit-po command, do take note of the following points:
Example:
-
edit-po 1 q/999 d/2018-12-12
Updates the quantity and required date of the 1st purchase order to999and2018-12-12respectively.
4.6.6. Deleting a purchase order : delete-po
The delete-po command is only available to the Member group.
It allows the user to delete the specified purchase order from the purchase order list.
Format: delete-po INDEX
For the delete-po command, do take note of the following points:
Example:
-
list-po
delete-po 5
Deletes the 5th purchase order in the inventory.
4.7. Reporting Module
The following commands are mainly used to export and import data for report analysis.
All the commands in this section are available to admin only.
4.7.1. Exporting data to CSV: export-csv
Exporting sales report to CSV: export-csv-sales
The export-csv-sales command exports the sales report in CSV format to the file path given.
Format: export-csv-sales f/FILEPATH
Example: export-csv-sales f/E:/out/sales.csv
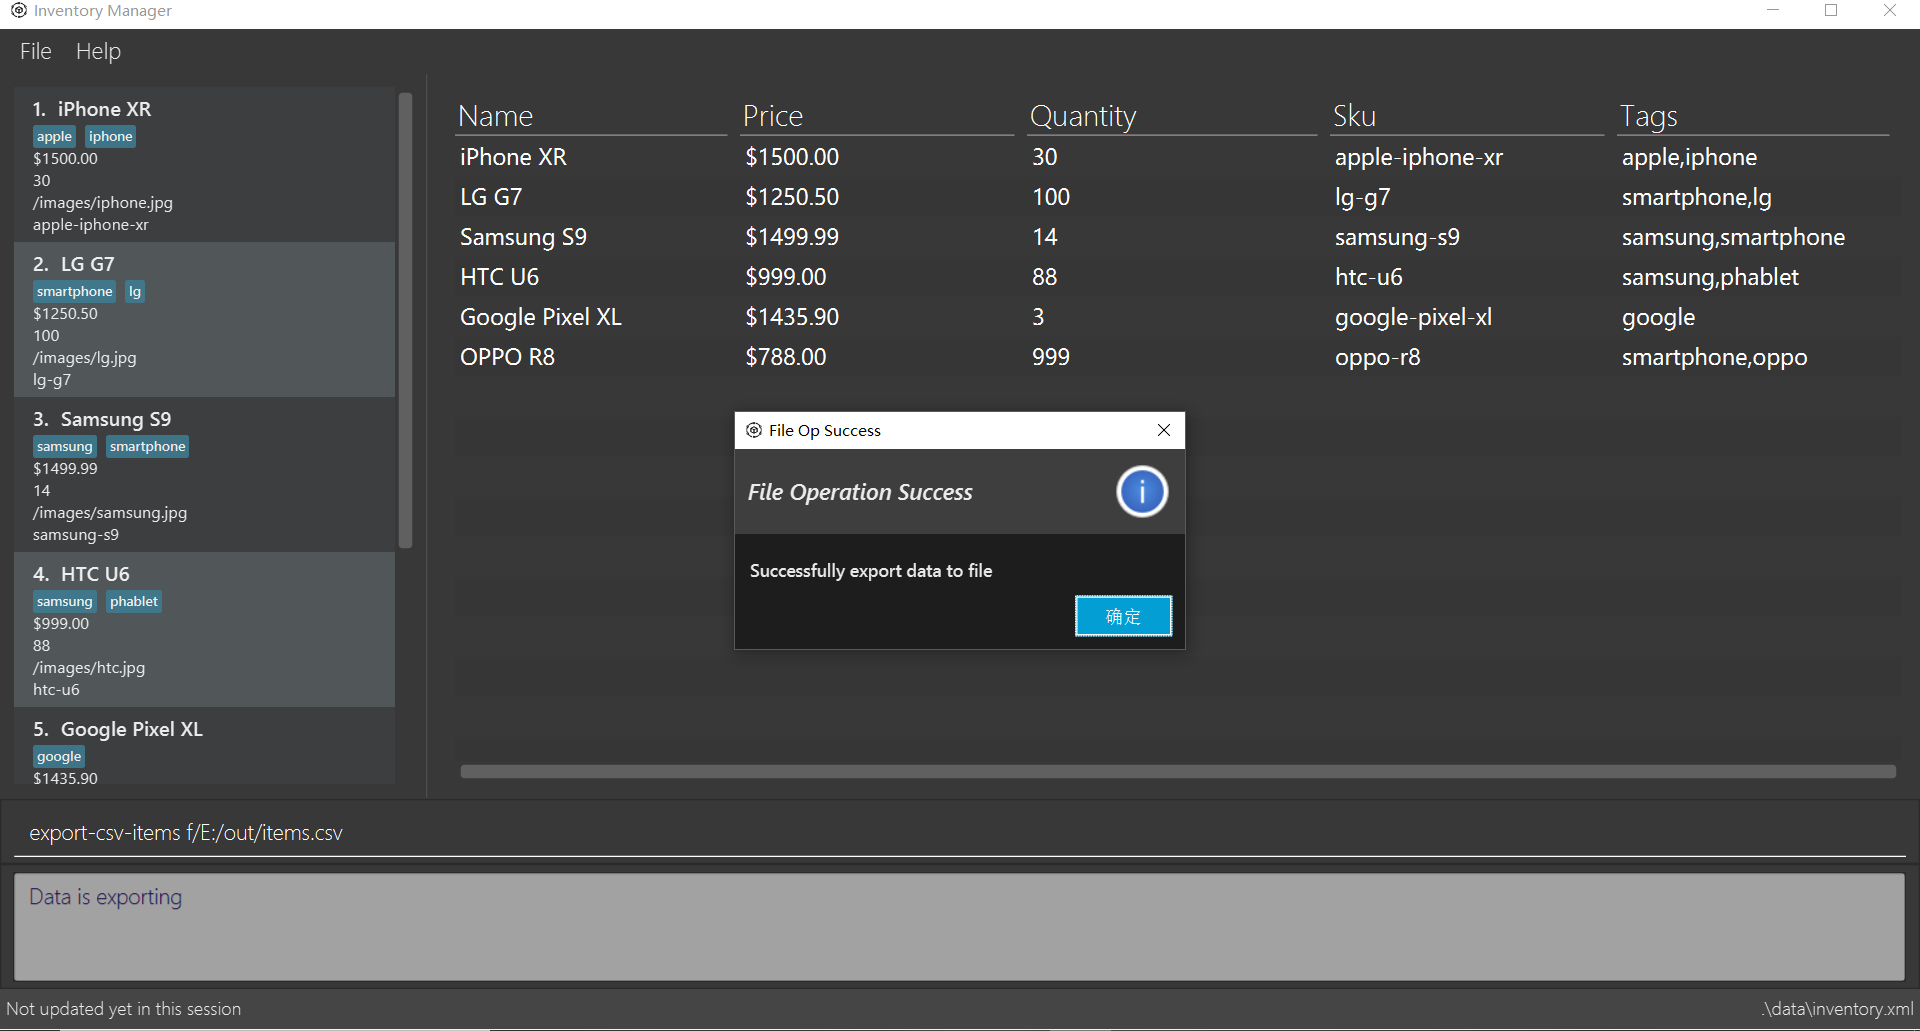
Exporting list of items to CSV : export-csv-items
The export-csv-items command exports the list of items in CSV format to the file path given.
Format: export-csv-items f/FILEPATH
Example: export-csv-items f/E:/out/items.csv
Following screenshot showcases what will happen when you enter the correct export-csv-items command:
Exporting list of users to CSV: export-csv-staffs
The export-csv-staffs command exports the list of users in CSV format to the file path given.
Format: export-csv-staffs f/FILEPATH
Example: export-csv-staffs f/E:/out/staffs.csv
Exporting list of purchase orders to CSV: export-csv-orders
The export-csv-orders command exports the list of purchase orders in CSV format to the filepath given.
Format: export-csv-orders f/FILEPATH
Example: export-csv-orders f/E:/out/orders.csv
4.7.2. Exporting entire data to .im file: export-im
(coming in v2.0)
The export-im command exports the entire data to the .im file specified by FILEPATH to quickly transfer the data between two Inventory Manager applications.
Format: export-im f/FILEPATH
Example: export-im f/E:/out/data.im
4.7.3. Importing data from CSV: import-csv
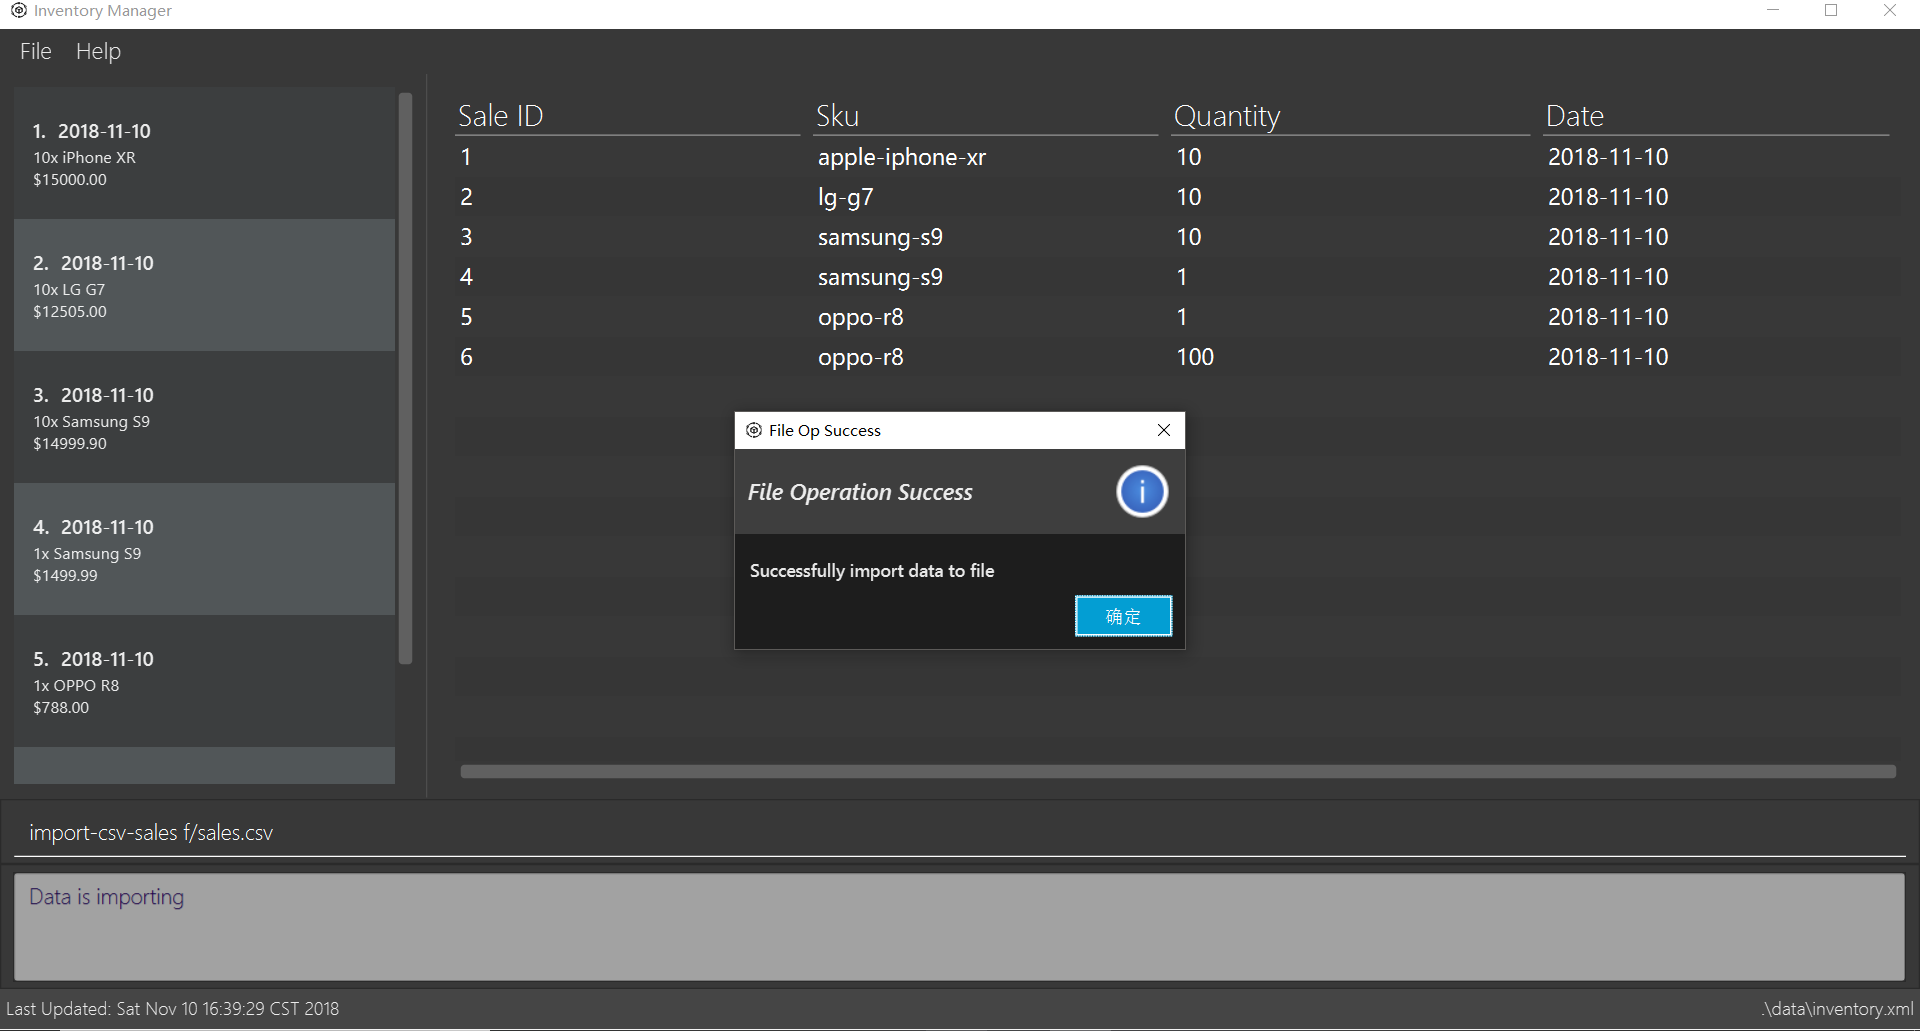
Importing sales report from CSV: import-csv-sales
The import-csv-sales command imports the sales report in CSV format from the file path given.
Format: import-csv-sales f/FILEPATH
Example: import-csv-sales f/E:/in/sales.csv
Following screenshot showcases what will happen when you enter the correct import-csv-sales command:
Importing list of items from CSV : import-csv-items
The import-csv-items command imports the list of items in CSV format from the file path given.
Format: import-csv-items f/FILEPATH
Example: import-csv-items f/E:/in/items.csv
Importing list of users from CSV: import-csv-staffs
The import-csv-staffs command imports the list of users in CSV format from the file path given.
Format: import-csv-staffs f/FILEPATH
Example: import-csv-staffs f/E:/in/staffs.csv
Importing list of purchase orders from CSV: import-csv-orders
The import-csv-orders command imports the list of purchase orders in CSV format from the file path given.
Format: import-csv-orders f/FILEPATH
Example: import-csv-orders f/E:/in/orders.csv
4.7.4. Importing entire data from .im file: import-im
(coming in v2.0)
The import-im command imports the entire data from the .im file specified by FILEPATH to quickly transfer the data between two Inventory Manager applications.
Format: import-im f/FILEPATH
Example: import-im f/E:/in/data.im
5. FAQ
Q: How do I transfer my data to another Computer ?
A: Install Inventory Manager in the other computer and overwrite the empty data file it creates with the file that contains the data of your previous Inventory Manager folder.
A: Export the data in your current Inventory Manager first. Then, install the Inventory Manager in the other computer
and import the data back.
Q: How do I save my data ?
A: There is no need to save manually because the state of the database is saved in the hard disk automatically after any command that changes the data.
Q: How can I report a bug or suggest improvements to this application ?
A: You can open an issue here.
Q: I forgot my password, how do I reset ?
A: Please contact your administrator to assist you in resetting your password.
6. Command Summary
The following table summarises commands available in Inventory Manager, along with examples:
| Command | Format | Example | Available for |
|---|---|---|---|
General |
|||
|
|
|
|
|
|
|
|
|
|
|
|
|
|
|
|
|
|
|
|
Authentication |
|||
|
|
|
|
|
|
|
|
|
|
|
|
Users Management |
|||
|
|
|
|
|
|
|
|
|
|
|
|
|
|
|
|
Inventory Management |
|||
|
|
|
|
|
|
|
|
|
|
|
|
|
|
|
|
|
|
|
|
|
|
|
|
Sale Orders Management |
|||
|
|
|
|
|
|
|
|
|
|
|
|
Purchase Orders Management |
|||
|
|
|
|
|
|
|
|
|
|
|
|
|
|
|
|
|
|
|
|
|
|
|
|
Reports Management |
|||
|
|
|
|
|
|
|
|
|
|
|
|
|
|
|
|
|
|
|
|
|
|
|
|
|
|
|
|
|
|
|
|
|
|
|
|
|
|
|
|
7. Glossary
CLI (Command Line Interface)
A command line interface (CLI) is an interface where you can input commands to interact with the software.
CSV (Comma Separated Values)
A Comma Separated Values file is a delimited text file that uses a comma to separate values. The file can be open using an Excel software.
GUI (Graphical User Interface)
A graphical user interface (GUI) is an interface through which a user interacts with the software.
Member
This refers to the user role Admin, Staff and Manager.
SKU (Stock Keeping Unit)
A Stock Keeping Unit is a product identification code assigned to a product.
User
This refers to everyone that uses Inventory Manager, which includes the Members and non-logged in users.