1. Overview
Inventory Manager was developed to tackle the chore of stock taking for Small to Medium Enterprises (SMEs). It is designed to be easy to use and it gives business owners control over their business right from their keyboard.
This portfolio aims to highlight my contributions as a developer to the Inventory Manager project. In addition, it demonstrates my ability to work with and manage a project team. Given only a short span of three months to develop Inventory Manager, I have written both user and developer documentation for the project too. This showcases not only my technical skills, but also my ability to work under pressure and competency in non-technical writing.
My contributions as a developer to the project is further elaborated below.
2. Summary of Contributions
Below is a summary of the contributions I have made to the project. |
-
Major Enhancement: Developed Sale Orders Management Feature
-
What it does: This feature allows the user to create a sale order in the application. When a sale order is created, Inventory Manager will automatically deduct stocks from the inventory.
-
Justification: This feature is critical for Inventory Manager to work. Without the ability to create sale orders, Inventory Manager will not be able to track and manage item stocks accurately.
-
Highlights: This feature requires interaction with the update item command in Inventory Manager and the ability to validate item quantity before a sale is allowed.
-
-
Minor Enhancement: Added support for undo / redo on sale orders
-
Code contributed: Reposense
-
Other contributions:
-
Project Management:
-
Managed release
v1.2.2on GitHub (GitHub)
-
-
Documentation:
-
Community:
-
3. Contributions to the User Guide
Given below are sections I contributed to the User Guide. They showcase my ability to write documentation targeting end-users. |
3.1. Sale Orders Management
All authenticated users can manage sale orders on the system using the commands below.
3.1.1. Creating a sale order : add-sale
The add-sale command is only available to the Member group. It allows the user to add a new sale order into Inventory Manager. Adding a new sale order will deduct the
item quantity automatically. User will need to ensure that the entered item SKU and sold quantity is valid.
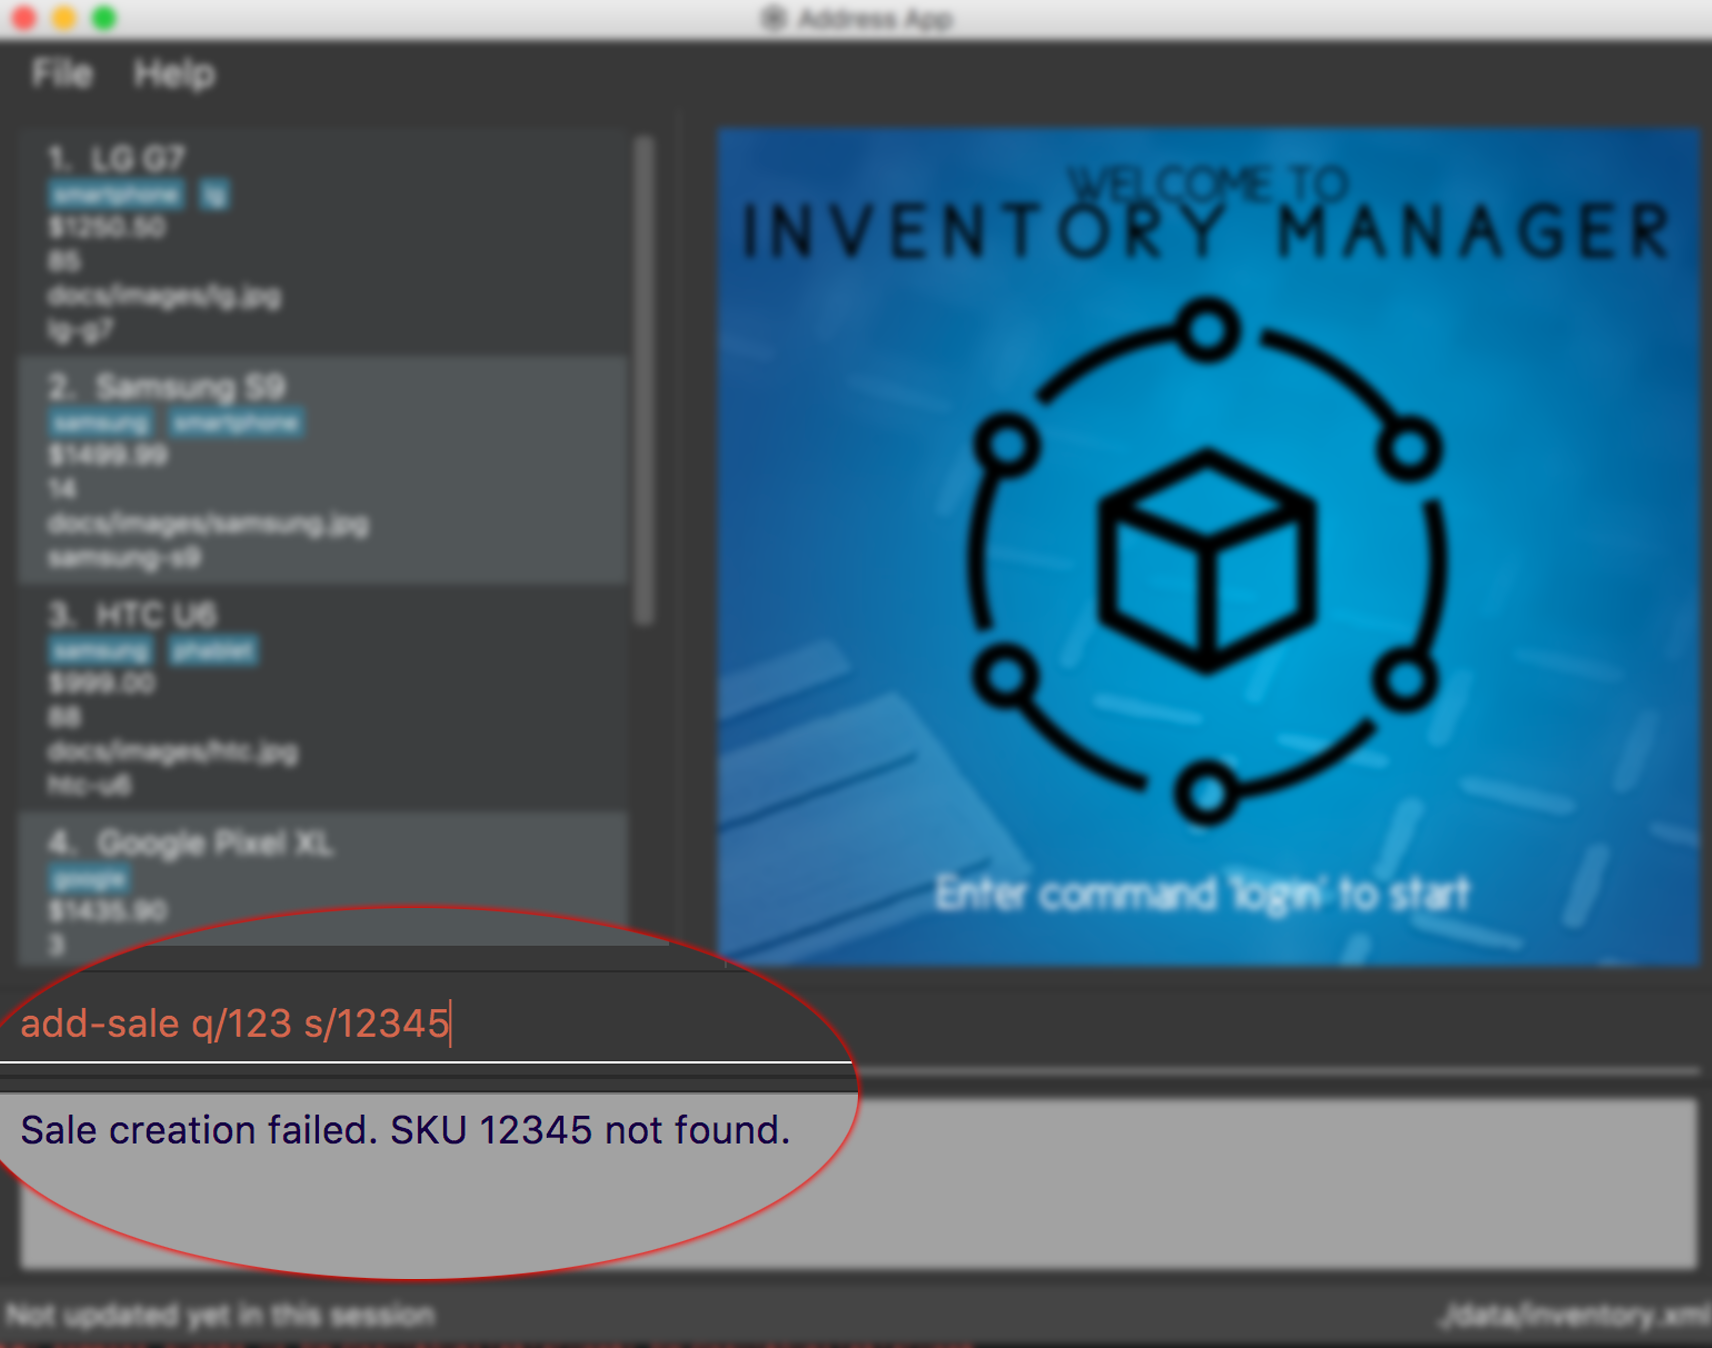
If an invalid SKU or quantity is entered, Inventory Manager will display an error on screen. The screenshot below is an example of an error when an invalid SKU is entered.

Format: add-sale s/SKU q/QTY
Example:
-
User sold 5 quantity of a product with SKU 0123.
add-sale s/0123 q/5
3.1.2. Deleting a sale order : delete-sale
The delete-sale command is only available to the Member group. It allows the user to delete a specific sale order in Inventory Manager. Deleting a sale order will restore
the inventory quantity deducted automatically. User will need to ensure that the entered sale ID is valid.
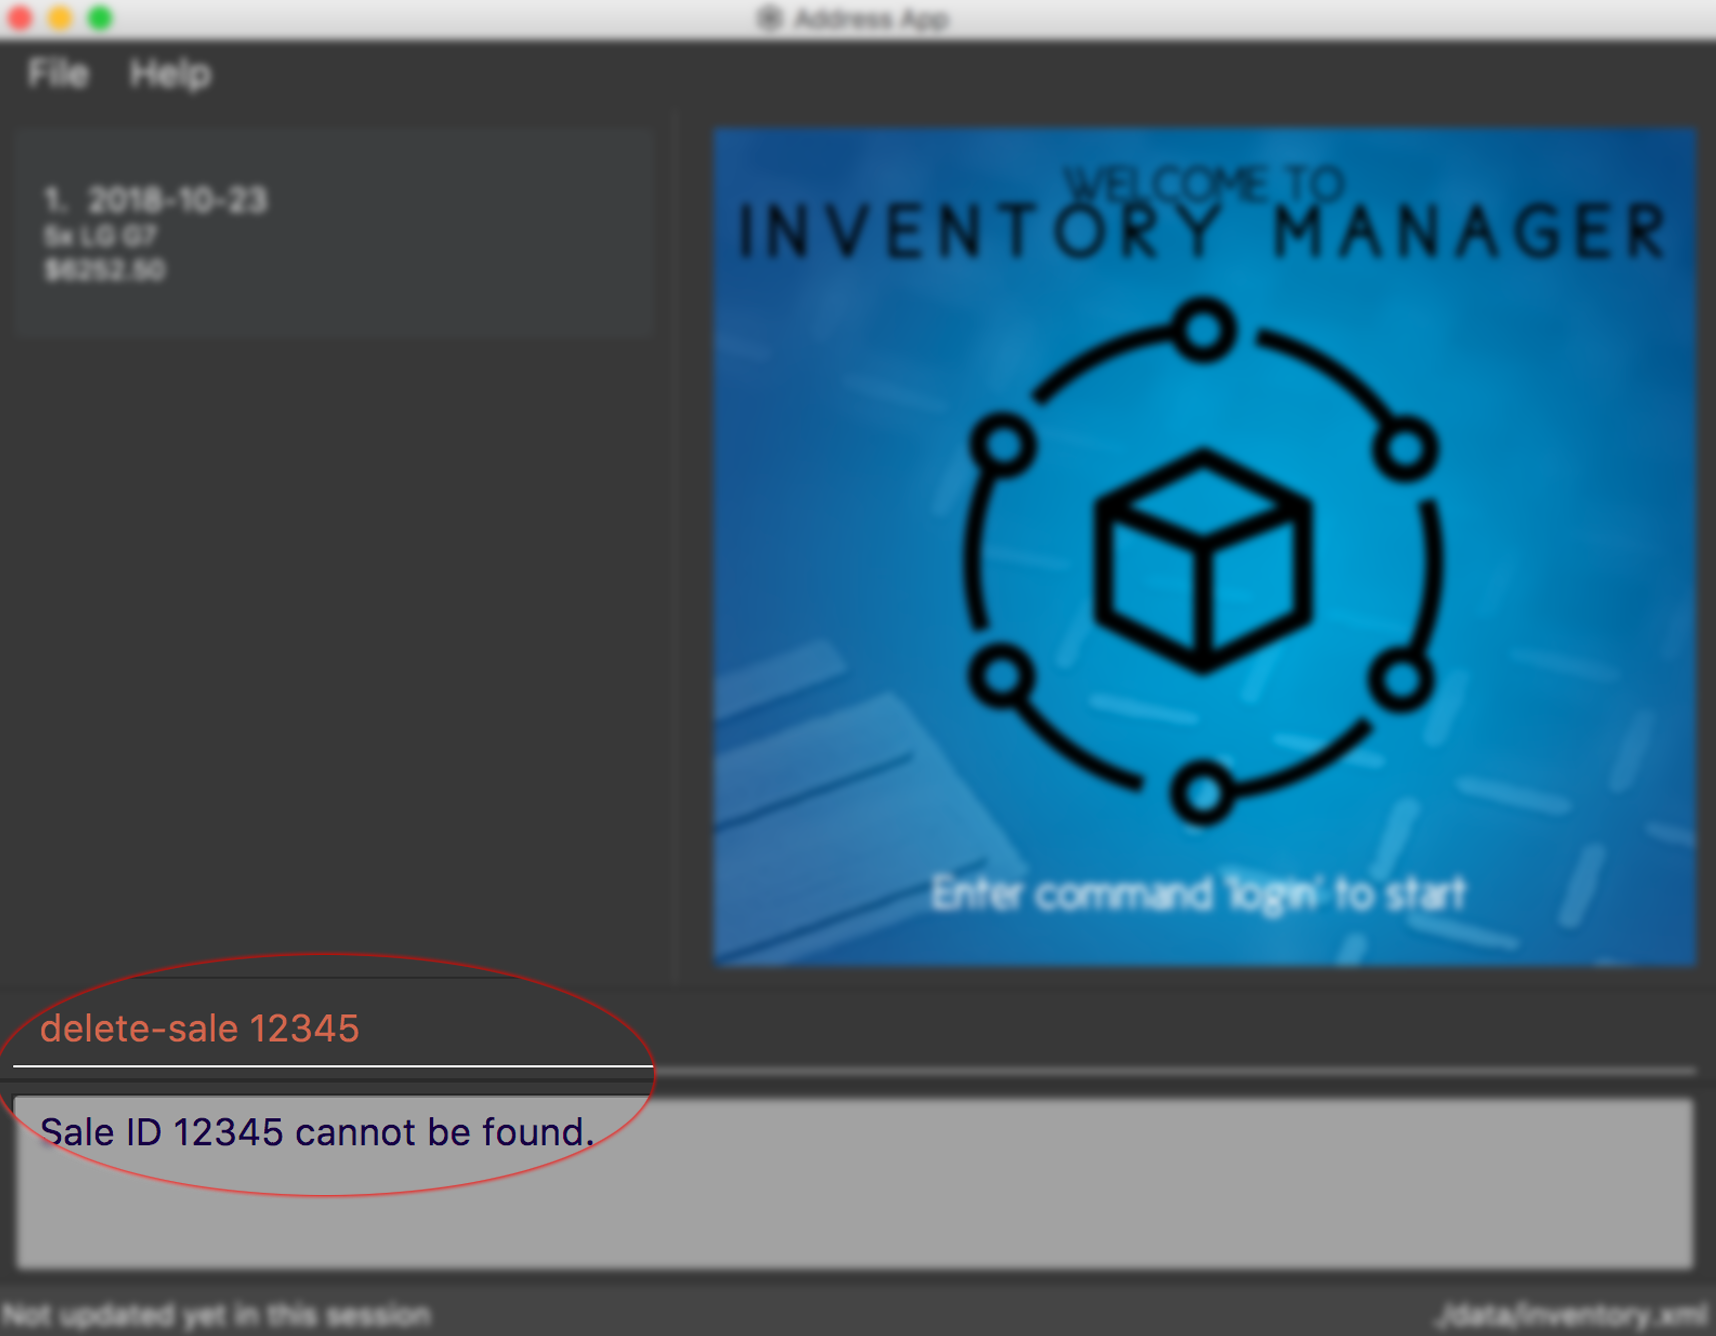
If a sale ID that cannot be found is entered, Inventory Manager will display an error on screen. The screenshot below is an example of an error when an invalid sale ID is entered.

Format: delete-sale SALE-ID
Example:
-
User wishes to delete sale ID 12.
delete-sale 12
3.1.3. Listing sale orders : list-sale
The list-sale command is only available to the Member group. It allows the user to list all sale orders in Inventory Manager.
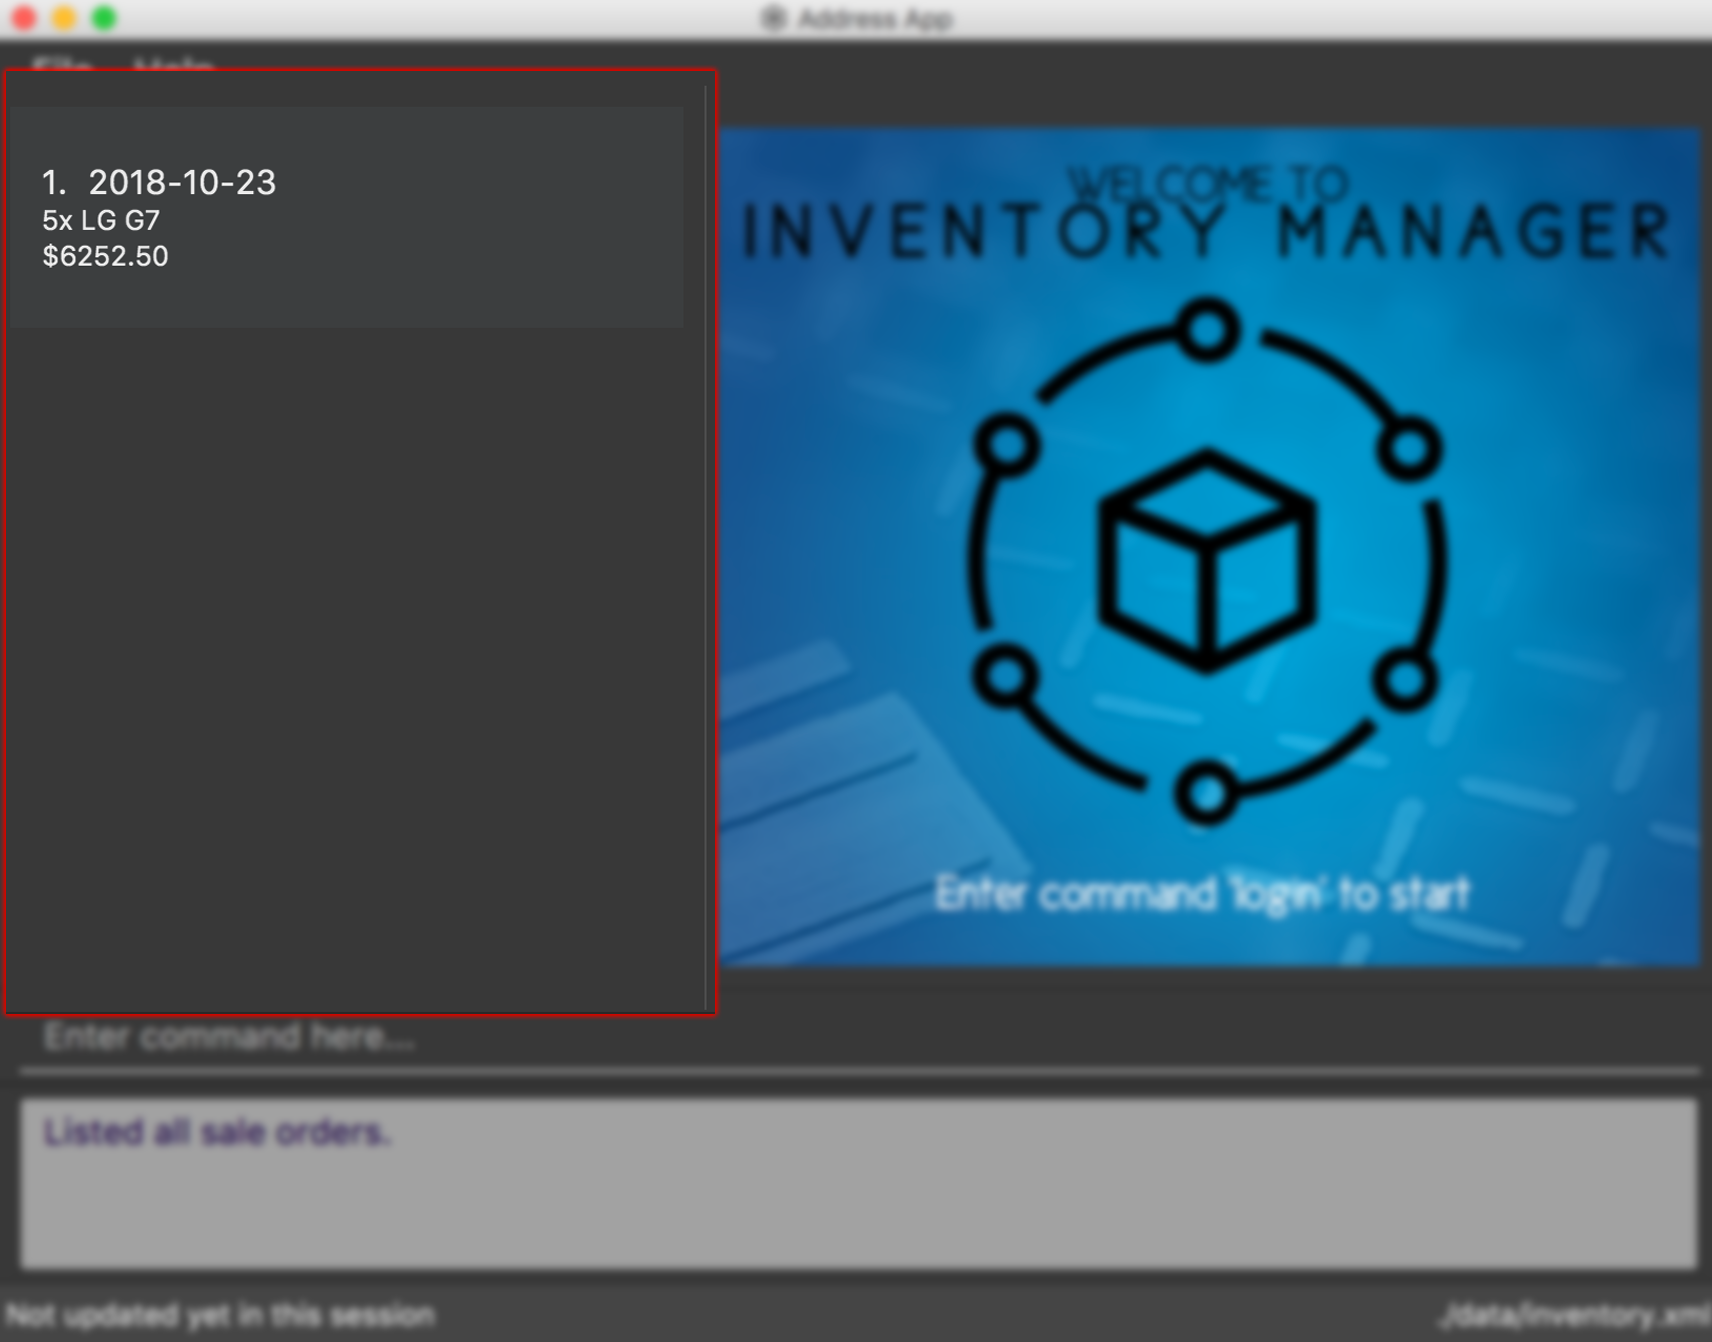
The screenshot below shows the result after the list-sale command has been entered.

Format: list-sale
Example:
-
User wishes to list all sale orders.
list-sale
4. Contributions to the Developer Guide
Given below are sections I contributed to the Developer Guide. They showcase my ability to write technical documentation and the technical depth of my contributions to the project. |
4.1. Sale order creation
The sale order creation command was developed to allow users to easily deduct item quantity from the inventory.
Creating a sale order requires the item SKU and the quantity that has been sold to be entered. The sale ID and sale date will then be automatically generated by the system.
Creating a new sale requires SaleID, Item, Quantity and SaleDate.
4.1.1. Implementation
The creation of sale order is handled by the AddSaleCommand. The use of it will trigger Model#updateItem,
which will then update the item’s quantity. After Model#updateItem has complete, the sale order will be stored into
the XML file.
Conditions
For AddSaleCommand#execute to be successful, there are two conditions which needs to be met. The following two conditions are:
-
The item must exists in Inventory Manager.
-
The available item quantity must be more than or equal to the quantity sold.
AddSaleCommand#execute will perform the validation before proceeding. If any of the above validation fails,
CommandException will be thrown and it will not call Model#updateItem.
Logic
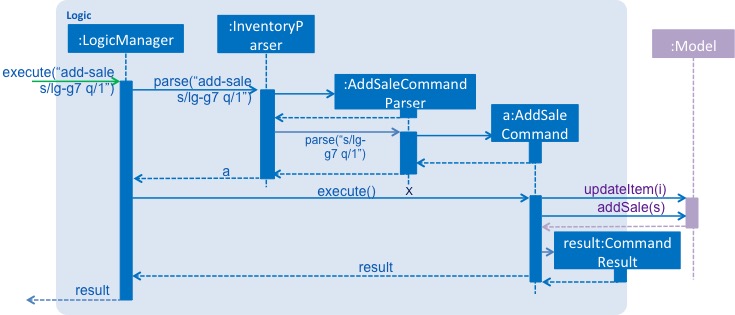
The sequence diagram below shows the interactions inside the logic component for the AddSaleCommand.

Storage
The sale orders created are stored into a XML file, named sale.xml, in the data folder. Below shows an example of
how each sale is stored in the XML file.
<sale>
    <saleId>1</saleId>
    <saleSku>apple-iphone-xr</saleSku>
    <saleQuantity>1</saleQuantity>
    <saleDate>2018-08-01</saleDate>
</sale>
Each sale created is represented as a sale element in the XML file as seen above. Each tag represents information for the sale order,
which is further explained below.
-
saleID - This represents the sale ID of the created sale order.
-
saleSku - This represents the sold item SKU.
-
saleQuantity - This represents the sold quantity for the created sale order.
-
saleDate - This represents the date the sale order was created.
On starting Inventory Manager, the XML file will be loaded, and each sale will be validated for corruption before being loaded into memory.
4.1.2. Design consideration
There are a few design considerations when creating a sale order. Below will explain the various considerations and the choices made.
Aspect: Where updateItem executes
There are various places where updateItem can be executed. The pros and cons for each option is shown below.
-
Executed at Logic
-
Pros: Easy to implement
-
Cons: Direct calling of
Model#addSalewill not be validated.
-
-
Executed at Model
-
Pros: Ensures that all entries are validated before sale can be created.
-
Cons:
Model#addSalewill need to access inventory to perform validations.
-
Based on the above pros and cons, the first option is chosen as it is easier to implement, and it does not require
Model#addSale to read the inventory and perform validations.